TB-9-2300-378-14 - Page 137 of 296
TB 9-2300-378-14
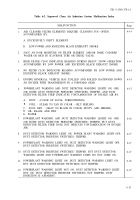
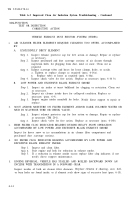
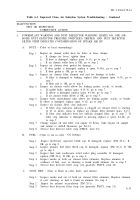
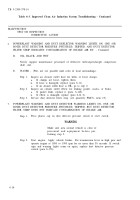
Table 6-3. Improved Clean Air Induction System Troubleshooting - Continued
MALFUNCTION
TEST OR INSPECTION
CORRECTIVE ACTION
6.
POWERPLANT WARNING AND DUST DEFLECTOR WARNING LIGHTS ON, ONE (OR
BOTH) DUST DETECTOR PRESSURE SWITCH(ES) TRIPPED, AND DUST DETECTOR
FILTER STRIP INDICATES CONTAMINATION OF INTAKE AIR BY:
A.
DUST - (Color of local surroundings)
Step 1.
Step 2.
Step 3.
Step 4.
Step 5.
Step 6.
Step 7.
Step 8.
Inspect air cleaner outlet hose for holes or loose clamps
a.
If clamps are loose, tighten them.
b.
If hose is damaged, replace (para. 6-11), go to step 7.
c.
If air cleaner outlet hose is OK, go to step 2.
Inspect air cleaner door gasket for damage.
a.
If door gasket is damaged, replace it (para. 6-14a), go to step 7.
b.
If door gasket is OK, go to step 3.
Inspect air cleaner filter element and seal for damage or leaks.
a.
If filter is damaged or leaking, replace filter element (para. 6-15), go to
step 7.
b.
If filter seal is OK, go to step 4.
Inspect air cleaner outlet elbow for leaking gasket, cracks, or breaks.
a.
If gasket leaks, replace (para. 6-14 b), go to step 7.
b.
If elbow is damaged, replace (para. 6-14b), go to step 7.
c.
If air cleaner outlet elbow is OK, go to step 5.
Inspect turbo supercharger inlet elbow for leaking gasket, cracks, or breaks.
If elbow is damaged, replace (para. 6-12), go to step 7.
Inspect air cleaner filter clog indicator.
a.
If filter clog indicator indicates a clogged air cleaner filter (a reading
of 25 or more), clean or replace air cleaner filter element (para. 6-15).
b.
If filter clog indicator does not indicate clogged filter, go to step 7. If
filter clog indicator is damaged or missing, replace it (para. 6-14d), go
to step 7.
Change engine oil and filter, run engine 10 hours. Take engine oil sample
and submit to AOAP laboratory per LO-12.
Service dust detector filter strip (PMCS, item 23).
B.
FUEL - (Clear to tan in color - Oil feeling)
Step 1.
Step 2.
Step 3.
Step 4.
Step 5.
Inspect fuel/water separator bleed cap. If damaged, replace (TM 20-1). If
OK, go to step 2.
Inspect primary fuel filter bleed cap. If damaged, replace (TM 20-1). If OK,
go to step 3.
Inspect fuel tank condensate relief outlet plug assembly. If damaged,
replace (TM 20-1). If OK, go to step 4.
Inspect inside of both air cleaner filter elements. Replace element if
evidence of fuel, soot, or charring is found inside element. Go to step 5.
Service dust detector filter strip (see quarterly PMCS, item 23).
C.
SOOT, DRY - (Gray to black in color, dusty, and smears).
Step 1.
Inspect inside and out of both air cleaner filter elements. Replace element
if soot, charring, or fuel is found on element. Go step 2.
Step 2.
Inspect for exhaust recirculation (TM 20-1).
Step 3.
Service dust detector filter strip (see quarterly PMCS, item 23).
6-15
Back to Top

