TM-9-2320-209-34-2-2 - Page 520 of 899
TM 9-2320-209-34-2-2
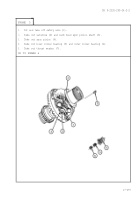
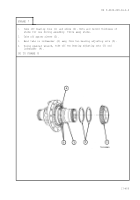
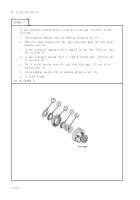
FRAME 3
1.
Measure thickness of four thrust plates (1).
2.
Measure thickness of four thrust plates (2).
3.
Measure outside diameter of rack thrust roller (3).
4.
Measure thickness of spur pinion thrust washer (4).
END OF TASK
Table 17-3. Boring Case Gear Assembly Wear Limits
Size and Fit
Index
of New Parts
Wear Limits
Number
Item /Point of Measurement (inches) (inches)
1
Thrust plate 0.307 to 0.313 0.302 to 0.305
2
Thrust plate 0.370 to 0.376 0.365 to 0.368
3
Rack thrust roller
3.328 to 3.330 3.313 to 3.315
4
Spur pinion thrust washer
0.140 to 0.145 0.130 to 0.135
17-503
Back to Top

