TM-9-2330-247-14-P - Page 143 of 320
TM 9-2330-247-14&P
4-40.
AIR COUPLINGS (Con’t)
ACTION
LOCATION
ITEM
REMARKS
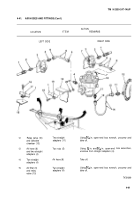
REPAIR
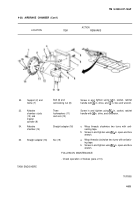
2.
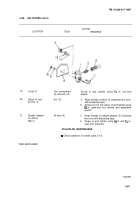
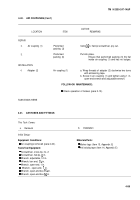
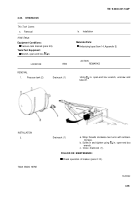
Air coupling (1)
Preformed
Using ~ in. flat-tip screwdriver, pry out.
packing (3)
3.
Preformed
Put into place.
packing (3)
Ensure that performed packing (3) fits flat
inside air coupling (1) and has no bulges.
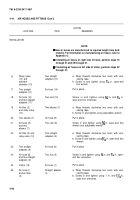
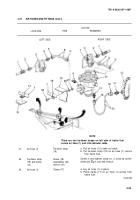
INSTALLATION
4.
Adapter (2)
Air coupling (1)
a. Wrap threads of adapter (2) clockwise two turns
with antiseizing tape.
b. Screw in air coupling (1) and tighten using 1 in.
open-end wrench and adjustable wrench.
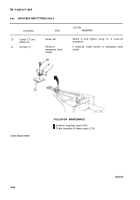
FOLLOW-ON MAINTENANCE:
l Check operation of brakes (para 2-10).
TASK ENDS HERE
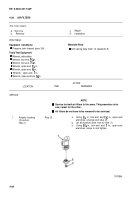
4-41.
AIR HOSES AND FITTINGS
This Task Covers:
a.
Removal
b.
Installation
Initial Setup:
Materials/Parts:
l Marker tags (Item 13, Appendix E)
l Anti seizing tape (Item 14, Appendix E)
Equipment Conditions:
l Air couplings removed (para 4-40).
Tools/Test Equipment:
l Screwdriver, cross-tip, no. 2
l Screwdriver, flat-tip, ~ in.
l Wrench, adjustable, 12 in.
l Wrench, box-end, ~6 in.
l Wrench, open-end, 1 in.
l Wrench, open-end, 1X6 in.
l Wrench, open-end box, ‘~6 in.
c Wrench, open-end box, % in.
4-89
Back to Top

