TB-9-2320-302-13-P-1 - Page 268 of 380
Installation Manual – P/N 0257550622-00
(Doc No.:
II
113500-1 D)
Freightliner M915 / M916 -
Crew Protection Kit
Page 76 of 125
1.
The OEM windshield should have been removed during vehicle preparation.
If not,
remove at this time.
Prepare the area around the windshield opening by cleaning the
surrounding surface.
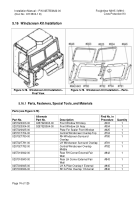
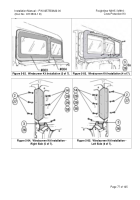
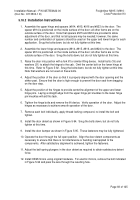
Lay part #625 in place as shown in Figure 5-80.
2.
Spread the supplied Sikaflex primer on the areas indicated by the dark lines around the
windshield opening in Figure 5-81.
3.
Spread Sikaflex primer on the mating areas of the windshield frames, #003 and #004.
4.
Apply a generous bead of Sikaflex sealant on the cab in the primed area.
Ensure to fully
encircle all holes in the center plate #625 and apply a bead across each end of #625 to
seal the ends to the cab.
5.
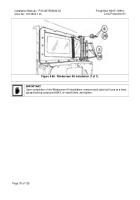
Set the windshields in position as indicated in Figure 5-82.
Ensure that the strike face is
oriented to face forward.
Use fasteners in the upper center locations to hold the
windshield in position.
Do not tighten the fasteners at this time.
6.
Install the windshield surround overlaps, parts #780 and #781. Do not tighten fasteners at
this time.
7.
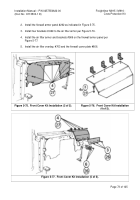
Install the A-pillar overlaps #845 and #846 at the corners and the corner fairings, #842 and
#843 per Figures 5-84 and 5-85.
8.
Install the center overlaps #782 and #704 per Figure 5-86.
9.
Remove each fastener individually, apply thread-locking compound and reinstall.
Snug all
fasteners slowly (approx 5 - 10 ft-lb) check for any interference between the windshields
and the cab, correct as necessary, then tighten to 35 ft-lb maximum.
Back to Top

