TM-9-2320-328-13-P-2 - Page 35 of 1390
TM 9-2320-328-13&P-2
0113-5
DRAFT
0113
Change 1
.
.
.
.
.
.
.
.
.
.
.
.
.
.
.
.
.
.
.
.
.
.
.
.
HWT3134
.
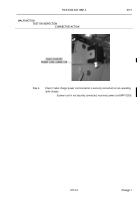
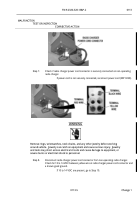
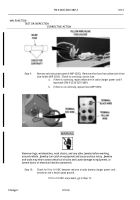
Step 7.
Check if radio charger power cord connector is securely connected on non-operating
radio charger.
-
-
-
-
-
-
-
-
-
-
-
-
-
-
-
-
-
-
-
-
-
-
-
-
-
-
-
-
-
-
-
-
-
-
-
-
-
-
If power cord is not securely connected, reconnect power cord (WP 0259).
.
.
.
.
.
.
.
.
.
.
.
.
.
.
.
.
.
.
.
.
.
.
.
.
HWT3133
.
.
.
.
.
.
.
.
.
.
.
.
.
.
.
.
.
.
.
.
.
.
WARNING
-
-
-
-
-
-
-
-
-
-
-
-
-
-
-
-
-
-
-
-
-
-
-
-
-
-
-
-
-
-
-
-
-
-
-
-
-
-
Remove rings, wristwatches, neck chains, and any other jewelry before working
around vehicle.
Jewelry can catch on equipment and cause serious injury.
Jewelry
and tools may short across electrical circuits and cause damage to equipment, or
severe burns or electrical shock to personnel.
.
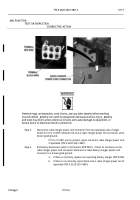
Step 8.
Disconnect radio charger power cord connector from non-operating radio charger.
Check for 10 to 14 VDC between yellow wire at radio charger power cord connector and
a known good ground.
-
-
-
-
-
-
-
-
-
-
-
-
-
-
-
-
-
-
-
-
-
-
-
-
-
-
-
-
-
-
-
-
-
-
-
-
-
-
If 10 to 14 VDC are present, go to Step 10.
.
MALFUNCTION
TEST OR INSPECTION
CORRECTIVE ACTION
Back to Top

