TB-9-2510-251-13 - Page 244 of 624
2-228
TB 9-2510-251-13
2-2.3
Installation of Air Conditioning Kit to M1097A2 Two-Door with O'Gara Hess
Add-on-Armor (Cont’d).
d. Install Refrigerant Hoses (Cont’d)
CAUTION
Avoid high heat surfaces, sharp edges, and moving parts of vehicle.
Keep hoses
tucked up high enough to prevent being snagged as vehicle travels over obstacles
or brush.
Failure to comply could result in damage to equipment.
Hoses should span no more than two feet without being secured.
Failure to comply
could result in damage to equipment.
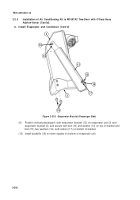
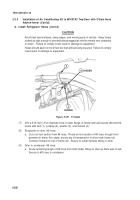
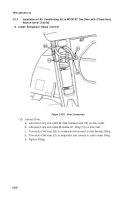
Figure 2-331.
P-Clamp
2
4
HIDDEN
1
3
HIDDEN
(7)
Drill a 5/16 inch (.312) diameter hole in lower flange of fender well and secure #8 and #12
hoses with bolt (1), p-clamp (2), washer (3), and locknut (4).
(8)
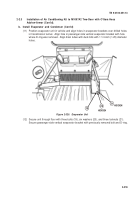
Evaporator to drier, #6 hose:
a. Cut a six foot section from #6 hose.
Route six foot section of #6 hose through front
grommet in armor floor plate, across top of transmission to driver side frame rail.
Continue forward on top of frame rail.
Secure to outlet (female) fitting on drier.
(9)
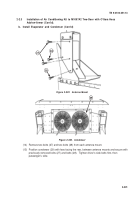
Drier to condenser, #6 hose:
a. Route remaining length of #6 hose from inlet (male) fitting on drier up back wall of cab.
Secure to #8 hose to condenser.
Back to Top

