TB-9-2510-251-24 - Page 175 of 212
TB 9-2510-251-24
3.
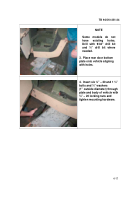
Place in position by placing
aluminum bar upon existing
bracket as close as possible to
the outside of vehicle.
Drill
½” holes through rear wheel well.
Attach with ½” x 13 x 3” bolts,
½” washers, and ½” x 13 locking
nuts.
Drill 13/32” hole through
wheel well at the holes provided
in armor plating at the bottom of
armor panel.
Attach with
3/8” x 16 x 2 ½” bolts,
3/8” washer, and 3/8” locking nut.
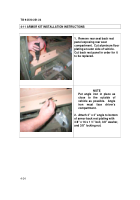
4.
Position center panel in place.
Line holes up with back panels.
Bolt in place with ½” x 13 x 1 ¼”
bolt, ½” washer, and ½” x 13
locking nut.
4-23
Back to Top


