TM-3-1040-279-12-P - Page 131 of 389
TM 3-1040-279-12&P
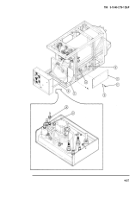
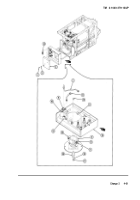
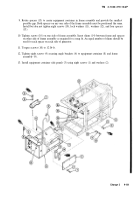
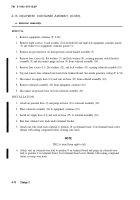
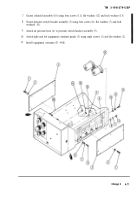
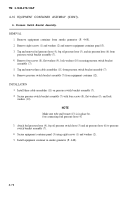
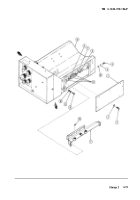
4-16 EQUIPMENT CONTAINER ASSEMBLY.
This task covers removal and installation of equipment container and replacement of:
a.
Solenoid Assembly
(P. 4-70)
b.
Pressure Switch Bracket Assembly
(P. 4-72)
c.
Terminal Bracket Assembly
(P. 4-74)
d.
Ignition Coil
(P. 4-76)
e.
Relay K101
(P. 4-78)
f.
Cable Assembly 5 J2
(P. 4-79)
g.
Ignition Cab/e Assembly
(P. 4-80)
h.
Fog Oil Supply Hose Assembly
(P. 4-81)
i.
Fog Oil Pressure Hose Assembly
(P. 4-82)
j.
Air Hose Assembly
(P. 4-83)
k.
Purge Air Hose Assembly
(P. 4-84)
l.
Air Supply Hose Assembly
(P. 4-86)
m.
Start Air Hose Assembly
(P. 4-88)
INITIAL SETUP
Tools
Materials
Sealing compound (Item 11 A, App E)
General Mechanic’s Automotive Tool Kit
SC 5180-CL-N26
Automotive Shop Equipment
SC 4910-95-CL-A74:
Torque wrench
Equipment Condition
M1059 vehicles - Inboard armor shield lowered
and smoke generator removed from vehicle
mount (TM 9-2350-261-20-1).
General Safety Instructions
Before performing any maintenance procedures
be sure circuit breaker CB1 is in the OFF
position.
Before performing any maintenance procedures
on air lines remove pressure from lines by
opening drain valve on compressor.
Fog oil is very slippery, clean up all spills
immediately to prevent injury to personnel.
NOTE
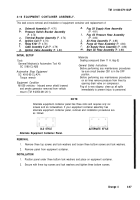
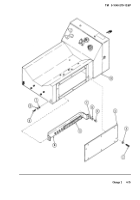
Alternate equipment container panel has three slots and requires only six
screws and six lockwashers. If your equipment container assembly has
alternate equipment container panel, removal and installation procedures are
as follows:
OLD STYLE
Alternate Equipment Container Panel.
ALTERNATE STYLE
REMOVAL
1.
Remove three top screws and lock washers and loosen three bottom screws and lock washers.
2.
Remove panel from equipment container.
INSTALLATION
1.
Position panel under three bottom lock washers and place on equipment container.
2.
Secure with three top screws and lock washers and tighten three bottom screws.
Change 4
4-67
Back to Top

