TM-9-2320-272-24-2 - Page 578 of 991
3-447. ENGINE
TM 9-2320-272-24-2
THIS TASK COVERS:
a. Removal
b. Installation
INITIAL SETUP:
APPLICABLE MODELS
REFERENCES (TM)
M939/A1
TM 9-2320-272-10
TOOLS
TM 9-2320-272-24P
General mechanic’s tool kit (Appendix E, Item 1)
MATERIALS/PARTS
Two locknuts (Appendix D, Item 274)
tie lockwashers (Appendix D, Item 346)
Locknut (Appendix D, Item 275)
Gasket (Appendix D, Item 170)
Two gaskets (Appendix D, Item 244)
Gasket (Appendix D, Item 175)
Tiedown straps (Appendix D, Item 697)
Antiseize tape (Appendix C, Item 72)
Sealant (Appendix C, Item 63)
EQUIPMENT CONDITION
Parking brake set (TM 9-2320-272-10).
Air reservoir drained (TM 9-2320-272-10).
Battery ground cables disconnected (para. 3-126).
Left and right engine splash shields removed
(TM 9-2320-272-10).
Exhaust pipe heat shield if needed removed
(para. 3-49).
Right hood bumper removed (para. 3-274).
1.
2.
3.
4.
5.
6.
7.
NOTE
Remove all tiedown straps as required and note location and
position for installation.
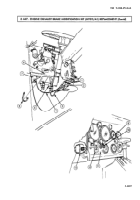
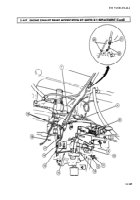
Remove two toggle switch leads (1) from cable (4) and lead assembly (3) behind instrument panel (8).
Remove lead (2) from lead assembly (3).
Remove lead assembly (3) from circuit breaker (5).
Remove tiedown strap (6) and cable (4) from wiring harness (7). Discard tiedown strap (6).
Connect lead (2) to circuit breaker (5).
NOTE
Instrument cluster may have to be removed for switch removal
(para. 3-83).
Ensure that toggle switch is in OFF position.
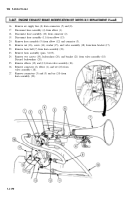
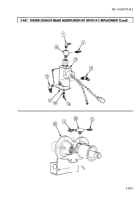
Remove nut (10), washer (9), plate (12), and toggle switch (13) from instrument cluster (11).
Install instrument cluster (11) if required (para. 3-83).
3-1186
Back to Top


