TM-9-2350-311-20-1 - Page 627 of 1275
TM9-2350-311-20-1
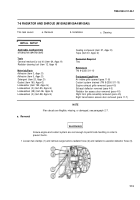
7-7 RADIATOR AND SHROUD (M109A3)
This task covers:
a. Removal
b. Installation
c. Cleaning
M109A3
T
OO
I
S
General mechanic’s tool kit (item 64, Appx H)
Radiator cleaning tool (item 12, Appx H)
Materials/Parts
Adhesive (item 3, Appx D)
Adhesive (item 5, Appx D)
Detergent (item 20, Appx D)
Gasket (item 160, Appx G)
Lockwashers (2) (item 95, Appx G)
Lockwashers (29) (item 96, Appx G)
Lockwashers (2) (item 98, Appx G)
Sealing compound (item 57, Appx D)
Tape (item 61, Appx D)
Personnel Required
.
Two
TM 9-2350-311-10
Equipment Conditions
,.
Air intake grille opened (para 11-8)
Coolant system drained (TM 9-2350-311-10)
Engine exhaust grille removed (para 4-5)
Exhaust deflector removed (para 4-5)
Radiator fan access door removed (para 4-5)
Right front grille assembly removed (para 4-5)
Right transmission access door removed (para 11-7)
a. Removal
I WARNING
I
Ensure engine and coolant system are cool enough to permit safe handling in order to
prevent burns.
NOTE
If fan decals are illegible, damaged, or missing, see paragraph 2-7.
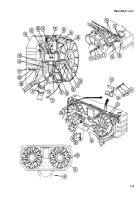
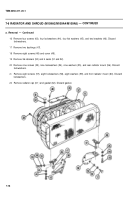
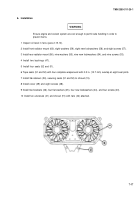
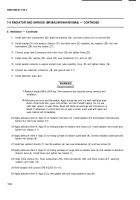
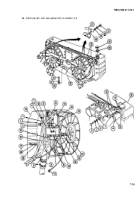
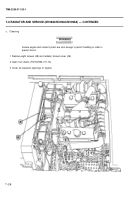
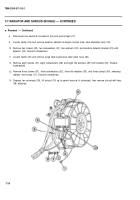
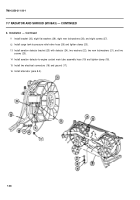
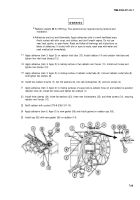
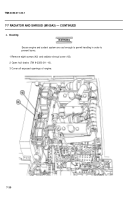
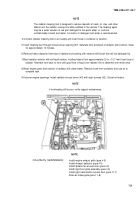
1 Loosen two clamps (1) and remove surge tank-to-radiator hose (2) and radiator-to-aeration detector hose (3).
2 Remove two screws (4), two Iockwashers (5), two flat washers (6), and two resilient mounts (7). Discard
Iockwashers.
3 Loosen two clamps (8) from radiator outlet tube (9).
4 Loosen two vent hose clamps (10) and remove two radiator vent hoses (11).
5 Loosen two inlet hose clamps (12) and pull radiator inlet tube (13).
7-22
INITIAL SETUP
Applicable Configurations
References
Back to Top

