TM-9-2815-220-24 - Page 199 of 1563
TM 9-2815-220-24
STANDARD MAINTENANCE INSTRUCTIONS
0028 00
REPAIR (Continued)
WP 0028 00-19 (20 blank)
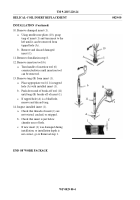
Studs (Continued)
1.
Apply a small amount of lubrication (item 16, Lubriplate) to threads before installing stud.
2.
Drive stud into tapped hole slowly to prevent heating.
Drive to setting height given in
procedural work package.
NOTE
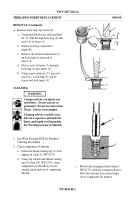
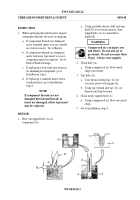
When tapped holes in castings cannot be fitted with oversize studs, the
holes in the castings can be fitted with helical-coil inserts (see Helical-
Coil Inserts Replacement instructions in this work package), and
studs of the original size can then be installed.
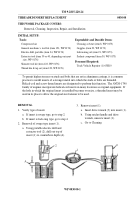
Threaded Parts
1.
Replace all parts that have stripped threads that cannot be repaired by chasing threads with a
tap or die.
Replace parts that cannot be repaired by installing insert (see helical-coil inserts or
threaded inserts replacement procedures in this work package).
a.
Chase damaged threads with tap or die (item 120, WP 0176) of correct size.
Thrust Washers and Shims
1.
Remove minor defects with a crocus cloth (item 9, WP 0173) or soft honing stone.
2.
Replace parts that are worn, scored, nicked, or deformed.
ASSEMBLY GUIDELINES
Extreme care must be exercised in all assembly operations to insure satisfactory engine
performance.
General rules for assembly are outlined below.
Procedures for assembling the
various components are covered in the paragraph relating to the specific component.
PRECAUTIONARY RULES
•
Cleanliness is essential in all assembly operations.
Dirt and dust, even in minute quantities,
are abrasive.
Parts must be cleaned as specified and kept clean.
•
Wrap or cover parts and components when assembly procedures are not immediately
completed.
•
Coat all bearings, shafts, and all contact surfaces with lubricating oil (item 21, WP 0173) to
ensure lubrication of parts during initial engine starting.
•
Always use new gaskets, O-rings, and preformed packings when assembling engine.
•
Use flat washers under all lock washers, nuts and bolts to protect aluminum surfaces.
•
When specified, secure bolts, cap screws, and nuts with lock washers, tab washers, locking
wire, or cotter pins.
•
Whenever a locking method is not specified for bolts and cap screws, the mid-grip helical-coil
threaded inserts into which the bolts or screws are threaded serves as the locking device.
•
Tightening hardware to the specified torque is very important.
For procedures and
specifications, refer to Torque Limits, WP 0174.
END OF WORK PACKAGE
Back to Top

