TB-9-2510-251-24 - Page 20 of 212
1-10
TB 9-2510-251-24
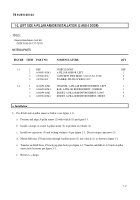
1-4. B-PILLAR ARMOR INSTALLATION
(2 AND 4 DOOR)
TOOLS:
General mechanics tool kit:
(NSN 5180-00-177-7033)
MATERIAL/PARTS:
FIGURE
ITEM
PART NO.
NOMENCLATURE
QTY
1-5
1
6430701-01M1
TAPPING STRIP, B-PILLAR HINGE
2
2
6430716-01M1
COVER STRIP, HINGE-FRONT
2
3
4397005-014
WASHER, FLAT, 0.375 IN.
2
4
4397000-058
CAPSCREW, HEX HEAD, 0.375-16 X 0.75 IN.
2
5
6430684-01M1
B-PILLAR ARMOR
2
6
4397050-049
UPSET FASTENER,
AVK-SHORT,
0.375-16 X 0.75 IN.
2
a. Installation
1)
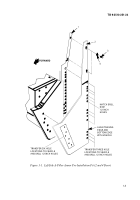
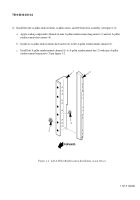
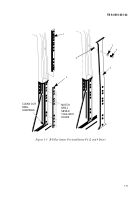
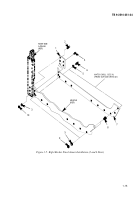
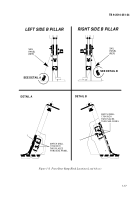
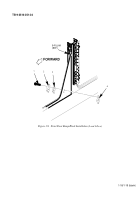
Install B-pillar armor as follows (see figure 1-5).
a.
Position B-pillar cover strip (2) onto lower B-pillar aligning with two 3/8-drill bits in upper holes.
Clamp
B-pillar cover strip (2) in place.
b.
Match drill seven 13/64-inch holes in lower B-pillar using B-pillar cover strip (2) as a guide.
Remove
clamp and drill bits and retain B-pillar cover strip (2).
c. Clean out drill shavings from behind hat section in B-pillar (see figure 1-5 for cleanout location).
d.
Insert B-pillar tapping strip (1) per figure 2-5.
e.
Install upper B-pillar (TM 9-2320-280-20-3, para. 10-67).
f.
Install upset fastener (6) in upper B-pillar.
g.
Install B-pillar armor (5) securing with capscrew (4) and washer (3).
Do not tighten capscrew (4)
h.
Repeat steps a. through g. for opposite side of vehicle.
Back to Top


