TM-5-3895-372-20 - Page 234 of 694
TM 5-3895-372-20
ADMIX SYSTEMS
6-14. VALVES. LINES, AND FITTINGS MAINTENANCE (Continued).
LOCATION/ITEM
ACTION
REMARKS
NOTE
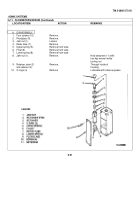
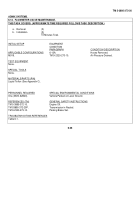
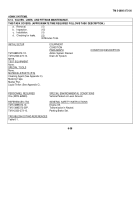
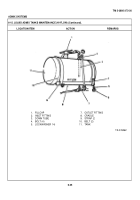
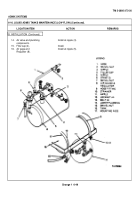
The illustration shows layout and main components of the liquid admix systems. To
replace any valve, line, or flitting of the liquid admix systems, follow these general steps.
Be sure the system is drained and air pressure is bled before you start.
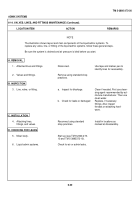
A. REMOVAL.
1.
Attached lines and fittings.
Disconnect.
Use tape and marker pen to
identify lines for reassembly.
2.
Valves and fittings.
Remove using standard shop
practices.
B. INSPECTION.
3.
Line, valve, or fitting.
a.
Inspect for blockage.
Clean if needed. First use clean-
sing agent recommended by ad-
mixture manufacturer. Then use
clean water.
b.
Check for leaks or damaged
Replace, if necessary.
fittings. Also inspect
threads on attaching hard-
ware.
C. INSTALLATION.
4.
Attaching lines,
Reconnect using standard
Install in locations as
fittings, and valves.
shop practices.
marked at disassembly.
D. CHECKING FOR LEAKS.
5.
Mixer body.
Start up (see TM 9-2320-273-
10 and TM 5-3895372-10).
6.
Liquid admix systems.
Check for air or admix leaks.
6-40
Back to Top


