TM-9-2320-209-20-3-2 - Page 290 of 552
TM 9-2320-209-20-3- 2
c .
Replacement .
1 .
2 .
3 .
4 .
5 .
6 .
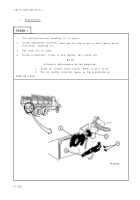
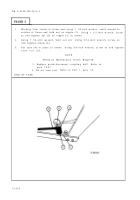
Put valve (1) in vise .
Using 1 1/4-inch wrench, screw in and tighten nippl e
(2). Put valve with nipple in place as shown .
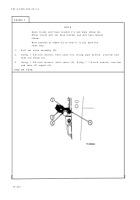
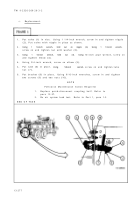
Using
1
1/4-inch
wrench,
hold
nut
on
nipple
(2).
Using
1
1/2-inch
wrench,
screw on and tighten nut with washer (3) .
Using
1
1/4-inch
wrench,
hold
nut
(3).
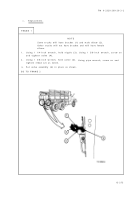
Using
and tighten elbow (4) .
Using 3/4-inch wrench, screw on elbow (5) .
Put tube (6) in place .
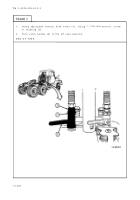
Using
5/8-inch
wrench,
nut (7) .
10-inch pipe wrench ,
screw on and tighte n
screw o n
tub e
Put bracket (8) in place .
Using 9/16-inch wrenches, screw in and tighte n
two screws (9) and two nuts (10) .
NOT E
Follow-on Maintenance Action Required :
1 .
Replace quick-disconnect coupling half. Refer t o
para 13-37 .
2 .
Do air system leak test .
Refer to Part 1, para 1- 5
END OF TAS K
13-27 7
Back to Top

