TM-9-2320-279-20-1 - Page 559 of 985
Cooling System Maintenance Instructions (Cont)
TM 9-2320-279-20-1
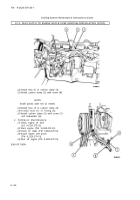
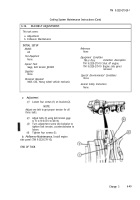
a. Removal.
NOTE
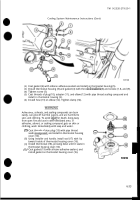
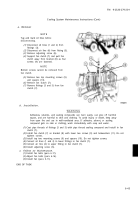
Tag and mark oil lines before
disconnecting.
(1)
(2)
(3)
(4)
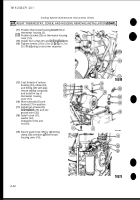
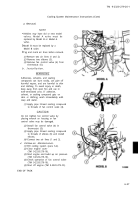
Disconnect oil lines (1 and 2) from
fittings (3).
Disconnect air line (4) from fitting (5).
Remove adjusting screw (6).
Support fan clutch (7) and pull fan
clutch away from bracket (8) as four
screws (9) are loosened.
NOTE
Bottom screws cannot be removed from
fan clutch.
(5)
(6)
(7)
Remove two top mounting screws (9)
and spacers (10).
Remove fan clutch (7).
Remove fittings (3 and 5) from fan
clutch (7).
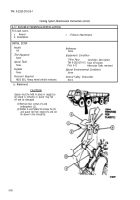
b. Installation.
WARNIN G
Adhesives, solvents, and sealing compounds can burn easily, can give off harmful
vapors, and are harmful to skin and clothing. To avoid injury or death, keep away
from open fire and use in well-ventilated area. If adhesive, solvent, or sealing
compound gets on skin or clothing, wash immediately with soap and water.
(1)
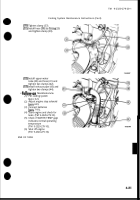
Coat pipe threads of fittings (3 and 5) with pipe thread sealing compound and install in fan
clutch (7).
(2)
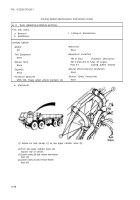
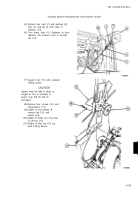
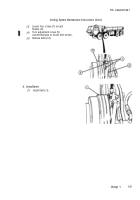
Install fan clutch (7) on bracket (8) with lower two screws (9) and lockwashers (11). Do not
tighten screws.
(3)
Install top two mounting screws (9) and spacers (10). Do not tighten screws.
(4)
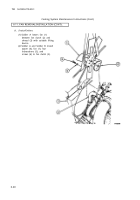
Connect oil lines (1 and 2) to lower fittings in fan clutch (7).
(5)
Connect air line (4) to upper fitting in fan clutch (7).
(6)
Install adjusting screw (6).
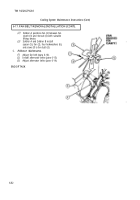
c. Follow on Maintenance.
(1)
Install fan belts (para 6-17).
(2)
Adjust fan belts (para 6-16).
(3)
Install fan (para 6-11).
END OF TASK
6-43
Back to Top

