TM-9-2320-280-20-3 - Page 269 of 1168
11-13. CARGO SHELL DOOR MAINTENANCE
This task covers:
a. Removal
c. Adjustment
b. Installation
a. Removal
1.
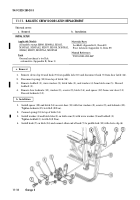
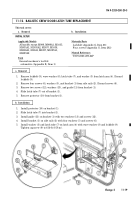
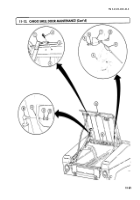
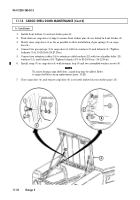
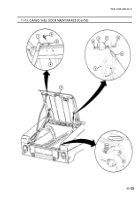
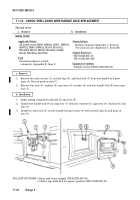
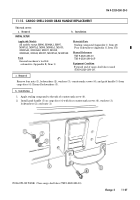
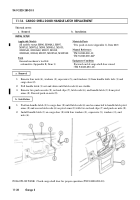
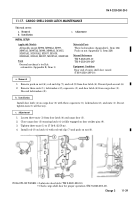
Remove two assembled washer screws (2) and footman loop (3) from strap (1) and cargo
door (4). Discard assembled washer screws (2).
2.
Lower cargo door (4) slightly, and remove two locknuts (5), washers (6), shoulder bolts (8), and
retention cable (9) from two retention cable brackets (7). Discard locknuts (5).
3.
Slowly raise cargo door (4) as far as possible to allow removal of gas springs (10) from cargo
door (4).
4.
Remove two locknuts (12), washers (11), and gas springs (10) from cargo door (4) and lay gas
springs (10) inside vehicle. Discard locknuts (12).
5.
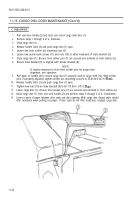
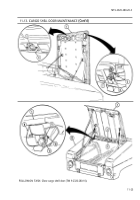
Lower cargo door (4), release handle latch (13), and remove cargo door (4).
WARNING
Opening one end of cargo door before ensuring opposite end is
fully closed will cause both ends to open simultaneously, resulting
in injury to personnel or damage to equipment.
INITIAL SETUP:
Applicable Models
All models except M996, M996A1, M997,
M997A1, M997A2, M998, M998A1, M1035,
M1035A1, M1035A2, M1037, M1038,
M1038A1, M1042, M1097, M1097A1,
M1097A2
Tools
General mechanic’s tool kit:
automotive (Appendix B, Item 1)
Materials/Parts
Two locknuts (Appendix G, Item 70)
Two assembled washer screws
(Appendix G, Item 279)
Two locknuts (Appendix G, Item 79)
Personnel Required
One mechanic
One assistant
Manual References
TM 9-2320-280-10
TM 9-2320-280-24P
Equipment Condition
Rear end of cargo shell door raised
(TM 9-2320-280-10).
General Safety Instructions
Never open one end of cargo shell door before
ensuring opposite end is securely closed.
TM 9-2320-280-20-3
11-20
Change 2
Back to Top

