TM-9-2320-440-13-P - Page 610 of 1616
TM 9-2320-440-13&P
0071-2
0071
-
-
-
-
-
-
-
-
-
-
-
-
-
-
-
-
-
-
-
-
-
-
-
-
-
-
-
-
-
-
-
-
-
-
-
-
-
-
3.
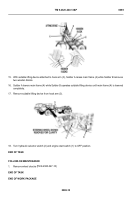
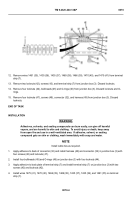
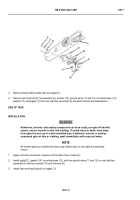
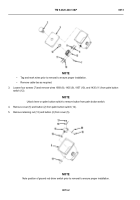
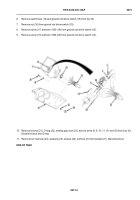
Remove light-emitting diode (6) from pigtail (7).
4.
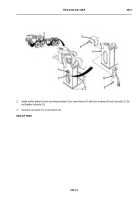
Remove two locknuts (8), lockwashers (9), screws (10), ground wires (11 and 12), mounting base (13),
gasket (14), and pigtail (7) from rear light bar assembly (5). Discard locknuts and lockwashers.
END OF TASK
INSTALLATION
WARNING
Adhesives, solvents, and sealing compounds can burn easily, can give off harmful
vapors, and are harmful to skin and clothing. To avoid injury or death, keep away
from open fire and use in a well-ventilated area. If adhesive, solvent, or sealing
compound gets on skin or clothing, wash immediately with soap and water.
NOTE
All marker lights are installed the same way. Marker light on rear light bar assembly
shown.
1.
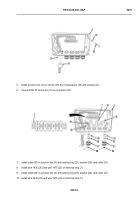
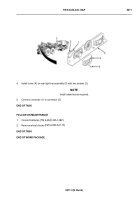
Apply corrosion preventive compound to threads of two screws (9).
2.
Install pigtail (7), gasket (14), mounting base (13), and two ground wires (11 and 12) on rear light bar
assembly (5) with two screws (10) and locknuts (8).
3.
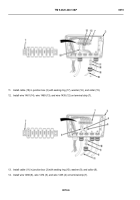
Install light-emitting diode (6) on pigtail (7).
THAAD0150
Back to Top

