TM-5-3895-372-20 - Page 453 of 694
TM 5-3895-372-20
MIXER-AUGER SYSTEM.
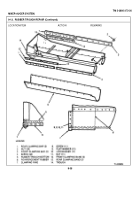
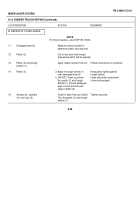
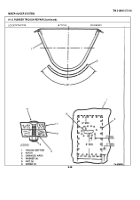
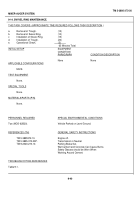
9-13. RUBBER TROUGH REPAIR (Continued).
LOCATION/ITEM
ACTION
REMARKS
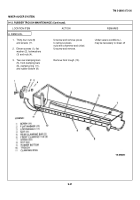
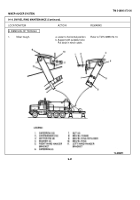
A. REPAIR AT BEARING END.
NOTE
For this procedure, use kit NP 2923000.
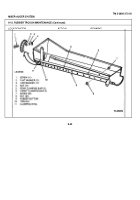
1.
Two rear clamping
bars (1).
2.
Twenty screws (4)
and nuts (2).
3.
Eleven screws (8), flat
washers (9), lockwashers
(10), and nuts (11).
4.
Two rear clamping bars (1)
5.
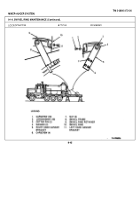
Reinforcement rubber (6).
6.
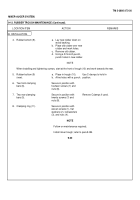
One front clamping band
(12), one rear clamping
band (13), and cut to fit
reinforcement rubber (6).
7
Reinforcement rubber (6)
and rubber trough bottom
(5).
8.
One front clamping band
(12), one rear clamping
band (13), and free end of
reinforcement rubber (6).
9.
Reinforcement rubber (6).
10.
Clamping ring (7).
Mark dimension of repair area on
the two rear clamping bars (1).
Unscrew and remove two
rear clamping bars (1).
Unscrew and remove clamp-
ing ring (7).
Cut at dimension you marked in
step 1, to make two front clamping
bands (12) and two rear clamping
bands (13).
Cut to fit the damaged area
and drill holes to aline with
those in front clamping bands
(12) and rear clamping bands
(13).
Install on one side of trough
(14) with ten screws (4) and
nuts (2).
Coat with rubber cement from
kit.
Install on other side of trough
(14) with ten screws (4) and
nuts (2).
Drill to fit holes in clamping
ring (7).
Install with eleven screws (8),
flat washers (9), lockwashers
(10) and nuts (11).
Mark repair area so that at least
three screws (4) and nuts (2)
attach each rear clamping bar (1).
9-36
Back to Top

