TM-5-3990-263-13-P - Page 479 of 728
INSTALLATION - Continued
19
20
19
22
25
23
26
17
18
24
22
21
16
18
17
26
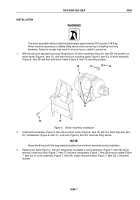
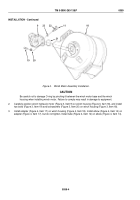
Figure 8.
Lower Cable Guide Shaft Installation.
5.
Install two cotter pins (Figure 8, Item 19), and lower cable guide shaft (Figure 8, Item 20) onto carriage (Figure
8, Item 21) and two pivot plates (Figure 8, Item 22). Install two cotter pins (Figure 8, Item 17) and upper cable
guide shaft (Figure 8, Item 16) on two upper cable guide retainers (Figure 8, Item 18).
NOTE
If there is no tension of cable against roller assemblies, install spring on higher hole until
tension exists.
6.
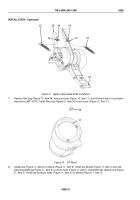
Install one end of each of two cable guide springs (Figure 9, Item 12) on upper cable guide shaft (Figure 9,
Item 16). Install other end of each of two springs (Figure 9, Item 12) on two bolts (Figure 9, Item 13) that are
on brackets (Figure 9, Item 14).
TM 5-3990-263-13&P
0058
0058-9
Back to Top


