TM-9-2320-272-23-2 - Page 763 of 1417
REMOVAL
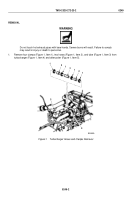
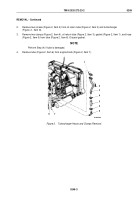
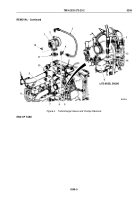
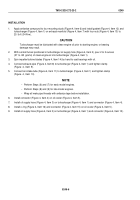
WARNING
Diesel fuel is highly flammable. Do not perform fuel system procedures near open flame.
Failure to comply may result in injury or death to personnel.
NOTE
•
The replacement procedure for right and left single fuel tanks is basically the same. This
procedure covers the left fuel tank.
•
Have drainage container ready to catch fuel.
•
Use drain pans to retain leaking/draining fluids. Refer to local procedures and plans for
preventing and responding to fluid spills or leaks. Comply with local regulations when
disposing of clean up material and leaked and spilled fluids.
1.
Remove drain plug (Figure 1, Item 10) and flat washer (Figure 1, Item 9) from bottom of fuel tank
(Figure
1,
Item
16). Discard flat washer.
2.
After draining is complete, install flat washer (Figure 1, Item 9) and drain plug (Figure 1, Item 10) on bottom of
fuel tank (Figure 1, Item 16).
NOTE
Tag lines for installation.
3.
Disconnect two vent lines (Figure 1, Item 6) from elbows (Figure 1, Item 7).
4.
Disconnect fuel return line (Figure 1, Item 13) from elbow (Figure 1, Item 12).
5.
Disconnect fuel supply line (Figure 1, Item 5) from elbow (Figure 1, Item 14).
6.
Disconnect fuel transmitter wire (Figure 1, Item 2) from fuel transmitter unit (Figure 1, Item 15).
7.
Remove screw (Figure 1, Item 3) and ground wire (Figure 1, Item 4) from fuel tank (Figure 1, Item 16).
8.
Remove two locknuts (Figure 1, Item 11) from hanger straps (Figure 1, Item 8). Discard locknuts.
9.
Remove two locknuts (Figure 1, Item 22), screws (Figure 1, Item 21), and hanger straps (Figure 1, Item 8) from
hangers (Figure 1, Item 1). Discard locknuts.
TM 9-2320-272-23-2
0250
0250-2
Back to Top

