TM-9-2320-280-20-2 - Page 406 of 951
TM 9-2320-280-20-2
4-168
Change 3
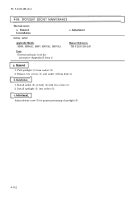
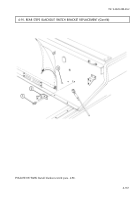
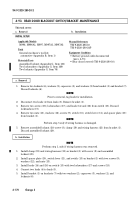
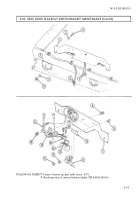
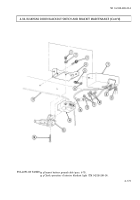
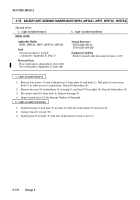
4-92. REAR STEPS BLACKOUT SWITCH REPLACEMENT
Manual References
TM 9-2320-280-10
TM 9-2320-280-24P
Equipment Condition
• Rear steps lowered (TM 9-2320-280-10).
• Battery ground cable disconnected
(para. 4-73).
1.
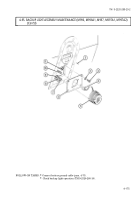
Remove three screws (1) and cover (2) from body (3) and bracket (5).
2.
Remove grommet (4) from body (3).
3.
Remove nut (11), lockwasher (10), and light switch (6) from bracket (5) and remove adjusting
nut (12). Discard lockwasher (10).
4.
Pull light switch leads (7) through hole in body (3).
5.
Disconnect light switch leads (7) from harness leads 791C (8) and 791D (9). Remove light switch (6).
1.
Connect light switch leads (7) to harness leads 791C (8) and 791D (9). Push through body (3).
2.
Install grommet (4) in body (3).
3.
Position adjusting nut (12) on switch (6) about halfway out on threads. Install switch (6) to
bracket (5) with lockwasher (10) and nut (11).
4.
Slowly raise rear steps to latched position while listening for switch (6) to “click”. If necessary,
adjust switch (6) in or out to ensure switch (6) clicks (closed) when steps are in raised and latched
position.
5.
Install cover (2) to body (3) and bracket (5) with three screws (1).
a. Removal
b. Installation
This task covers:
a. Removal
b. Installation
NOTE
Prior to removal, tag leads for installation.
INITIAL SETUP:
Applicable Models
M996, M996A1, M997, M997A1, M997A2
Tools
General mechanic’s tool kit:
automotive (Appendix B, Item 1)
Materials/Parts
Lockwasher (Appendix G, Item 168)
Back to Top

