TM-9-2320-280-34 - Page 523 of 1258
10-3.
BRAKE ROTOR REPA
I R
INITIAL SETUP:
To o l s
____
General mechanic’s tool kit:
automotive (Appendix G, Item 1)
Dial indicator (Appendix G, Item 95)
Micrometer (Appendix G, Item 96)
M a t e r i a l s / P a rt s
_____________
Abrasive crocus cloth (Appendix B, Item 10)
Manual Refere n c e s
_______________
TM 9-2320-280-20
TM 9-2320-280-24P
Equipment Condition
_________________
Brake rotor removed (TM 9-2320-280-20).
Maintenance Level
_______________
Direct support
This task covers:
a.
Inspection
c.
Checking Thickness Variation
b.
Checking Lateral Runout
d.
Refinishing
NOT E
If rotor braking surfaces are rusted or scaled, they must be
cleaned before attempting inspection or measurement.
1.
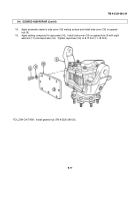
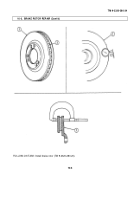
Mount rotor (1) in brake lathe and turn while cleaning surfaces with abrasive crocus cloth.
2.
Inspect rotor (1) for heat cracks, nicks, broken cooling fins (2), scoring, discoloration, and pitting.
Replace if damaged.
1.
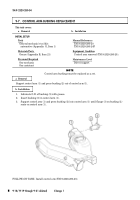
Mount dial indicator with stylus contacting rotor (1) surface 1 in. (25 mm) in from outer edge.
2.
Turn rotor (1) 360° and note indicator reading.
3.
If lateral runout exceeds 0.004 in. (0.10 mm) total, replace or refinish rotor.
1.
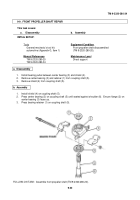
Measure thickness variation of rotor (1) with a micrometer at four equally-spaced points around
rotor (1). Measure 1 in. (25 mm) in from outer edge.
NOT E
Rotor must be replaced if minimum thickness falls below 0.81 in.
(20.6 mm). For the A2 and M1123 vehicles, rotor must be replaced
if minimum thickness falls below 0.97 in. (24.6 mm).
2.
If thickness variation exceeds 0.005 in. (0.13 mm), replace or refinish rotor (1).
1.
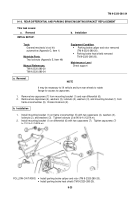
Mount rotor (1) on brake lathe and refinish surface.
2.
Replace rotor (1) if refinishing causes rotor (1) to fall below minimum thickness, 0.81 in. (20.6 mm)
or 0.97 in. (24.6 mm) for A2 and M1123 vehicles.
d. Refinishing
c. Checking Thickness Variation
b. Checking Lateral Runout
a. Inspection
TM 9-2320-280-34
1 0 - 2
Change 1
Back to Top

