TM-9-2320-328-13-P-3 - Page 297 of 844
TM 9-2320-328-13&P-3
0370-5
DRAFT
0370
Change 1
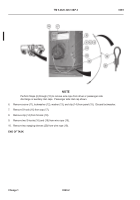
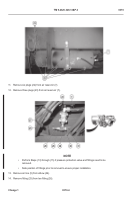
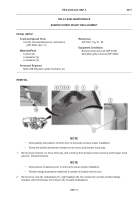
15. Remove elbow (24) and fitting (25) from pressure protection valve (27).
NOTE
Perform Steps (16) through (18) if pneumatic tank valve and fittings need to be removed.
16. Remove pneumatic tank valve (28) from fitting (29).
17. Remove fitting (30) from tee fitting (31).
18. Remove fitting (29) and fitting (30) from tee fitting (26).
END OF TASK
INSTALLATION
-
-
-
-
-
-
-
-
-
-
-
-
-
-
-
-
-
-
-
-
-
-
-
-
-
-
-
-
-
-
-
-
-
-
-
-
-
Adhesives, solvents, and sealing compounds can burn easily, can give off harmful
vapors, and are harmful to skin and clothing.
To avoid injury or death, keep away
from open fire and use in well-ventilated area.
If adhesive, solvent, or sealing
compound gets on skin or clothing, wash immediately with soap and water.
NOTE
•
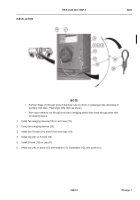
Perform Steps (1) through (4) if pneumatic tank valve and fittings need to be installed.
•
Install fittings as noted prior to removal.
1.
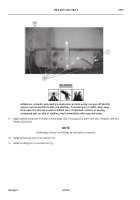
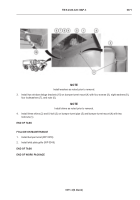
Apply sealing compound to threads of tee fitting (26), pneumatic tank valve (28), fitting (29), and fitting (30).
2.
Install fitting (29) and fitting (30) on tee fitting (26).
3.
Install fitting (30) on tee fitting (31).
4.
Install pneumatic tank valve (28) on fitting (29).
NOTE
Perform Steps (5) through (8) if pressure protection valve and fittings need to be installed.
5.
Apply sealing compound to threads of elbow (24) and fitting (25).
6.
Install elbow (24) and fitting (25) on pressure protection valve (27).
7.
Install fitting (25) on tee fitting (26).
8.
Install air line (5) on elbow (24).
WARNING
ICON 30, 44, 27
Back to Top

