TM-9-2320-440-13-P - Page 1087 of 1616
TM 9-2320-440-13&P
0151-1
0151
FIELD LEVEL MAINTENANCE
HEIGHT CONTROL VALVE REPLACEMENT
INITIAL SETUP:
REMOVAL
-
-
-
-
-
-
-
-
-
-
-
-
-
-
-
-
-
-
-
-
-
-
-
-
-
-
-
-
-
-
-
-
-
-
-
-
-
NOTE
•
Both height control valves are removed the same way.
Right side shown.
•
Height control link is disconnected from height control valve on same side of vehicle as
height control valve being replaced.
•
Note position of washers prior to removal to ensure proper installation.
1.
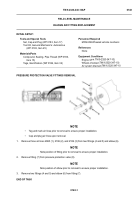
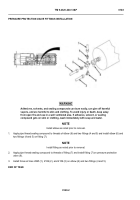
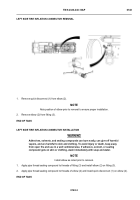
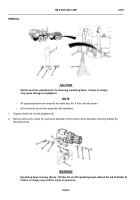
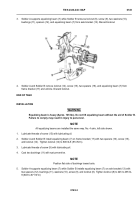
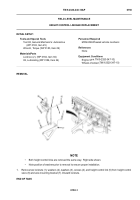
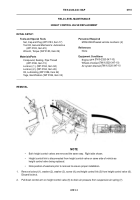
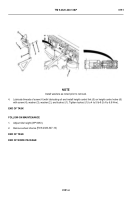
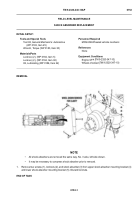
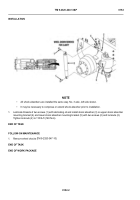
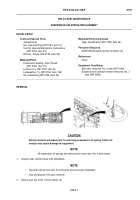
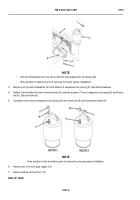
Remove locknut (1), washer (2), washer (3), screw (4), and height control link (5) from height control valve (6).
Discard locknut.
2.
Pull down control arm on height control valve (6) to drain air pressure from suspension air spring (7).
-
-
-
-
-
-
-
-
-
-
-
-
-
-
-
-
-
-
-
-
-
-
-
-
-
-
-
-
-
-
-
-
-
-
-
-
-
THAAD0407
Tools and Special Tools
Set, Cap and Plug (WP 0183, Item 17)
Tool Kit, General Mechanic’s: Automotive
(WP 0183, Item 25)
Wrench, Torque (WP 0183, Item 29)
Materials/Parts
Compound, Sealing, Pipe Thread
(WP 0186, Item 15)
Locknut, (1), (WP 0184, Item 94)
Locknut, (2), (WP 0184, Item 26)
Oil, Lubricating (WP 0186, Item 22)
Tags, Identification (WP 0186, Item 32)
Personnel Required
MOS 63B Wheeled vehicle mechanic (2)
References
None
Equipment Conditions
Engine OFF (
Wheels chocked (
Air system drained (
Back to Top

