TM-9-2320-440-13-P - Page 1093 of 1616
TM 9-2320-440-13&P
0153-1
0153
FIELD LEVEL MAINTENANCE
SUSPENSION AIR SPRING REPLACEMENT
INITIAL SETUP:
REMOVAL
-
-
-
-
-
-
-
-
-
-
-
-
-
-
-
-
-
-
-
-
-
-
-
-
-
-
-
-
-
-
-
-
-
-
-
-
-
CAUTION
Vehicle must be unloaded prior to removing suspension air spring. Failure to
comply may cause damage to equipment.
NOTE
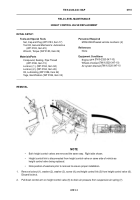
All suspension air springs are removed the same way. No. 4 axle shown.
1.
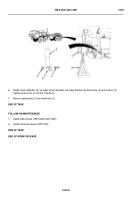
Support rear vehicle frame with jackstands.
NOTE
•
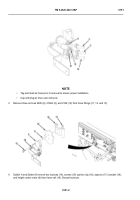
Tag and mark air line prior to removal to ensure proper installation.
•
Cap and plug air line upon removal.
2.
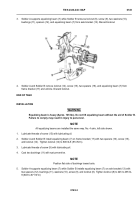
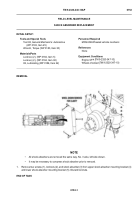
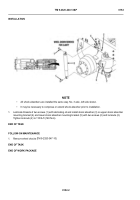
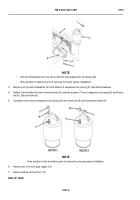
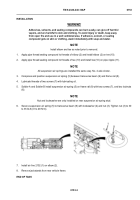
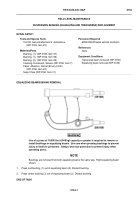
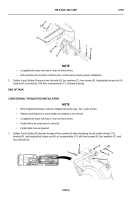
Remove air line 2102 (1) from elbow (2).
-
-
-
-
-
-
-
-
-
-
-
-
-
-
-
-
-
-
-
-
-
-
-
-
-
-
-
-
-
-
-
-
-
-
-
-
-
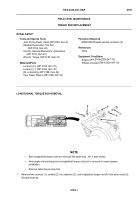
THAAD0077
Tools and Special Tools
Jackstand (2)
Set, Cap and Plug (WP 0183, Item 17)
Tool Kit, General Mechanic’s: Automotive
(WP 0183, Item 25)
Wrench, Torque (WP 0183, Item 29)
Materials/Parts
Compound, Sealing, Pipe Thread
(WP 0186, Item 15)
Locknut, (2), (WP 0184, Item 8)
Lockwasher, (1), (WP 0184, Item 138)
Oil, Lubricating (WP 0186, Item 22)
Materials/Parts (Continued)
Tags, Identification (WP 0186, Item 32)
Personnel Required
MOS 63B Wheeled vehicle mechanic (2)
References
None
Equipment Conditions
Ball valve removed, No. 4 axle (WP 0146)
Suspension air pressure switch removed, No. 3
axle (WP 0085)
Back to Top

