TM-9-2350-358-BD - Page 263 of 343
TM 9-2350-358-BD
12-11. ARMOR, PENETRATED - CONTINUED
NOTE
•
The procedures in this section for armor repair are general field repairs
Major armor repair must be performed by depot maintenance.
•
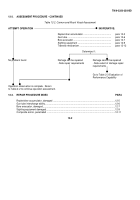
Assessment of armor will consist of a visual inspection to determine
the extent of damage and repairs required.
Option 1:
Large hole in armor.
Limitations:
Degraded armor protection.
Personnel/Time Required:
•
2 soldiers
•
2.0 hours
Materials/Tools:
•
Plate stock (scavenge from available source)
•
Welding equipment
•
Grinder
Other Option:
•
Drill holes in metal plate and armor and secure plate to armor with bolts, washers and nuts.
•
Secure metal plate to armor using polymer kit (found in M2/3 generic BDR kit, Section III, Appendix C).
Procedural Steps:
1.
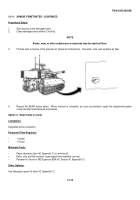
Cut aluminum patch so that it will extend at least 6 inches, where possible, beyond edges of hole in armor.
2.
Remove all dirt, paint, and rust from area on armor to be covered by patch.
3.
Grind edges of patch smooth.
CAUTION
Ground arc welding equipment to the portion of vehicle being welded (i e, cab or hull).
Failure to
comply could result in damage to slipring and race bearing.
4.
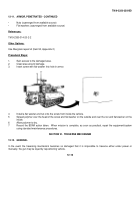
Tack weld patch 4 inch long on 8 inch centers.
5.
Remove slag with chipping hammer and wire brush (after each pass).
12-11
Back to Top


