TM-5-2330-378-14-P - Page 306 of 524
TM5-2330-378-14&P
5-17. LOWERLINK ASSEMBLYREPLACEMENT(M870).
ThisTaskCovers:
a.
Removal
b.
Installation
Initial Setup:
Tools/Test Equipment:
Equipment Conditions:
• Common no.1 tool set (Item 6, Appendix B)
- Wheels chocked (para 2-10).
• Crane, wheel mounted (Item 2, Appendix B)
- Gooseneck in upright position (para 2-8).
• Field maintenance tool set (Item 4, Appendix B)
• Tool kit, general mechanic's:
automotive
Personnel Required:
Two
(Item 7, Appendix B)
References:
TC 9-237
Materials/Parts:
- Retaining ring (Item 24, Appendix 1)
a.
REMOVAL
1.
Using crane, lift front of semitrailer.
2.
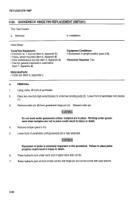
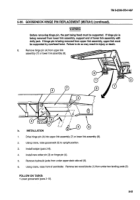
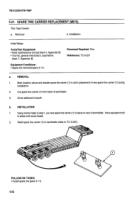
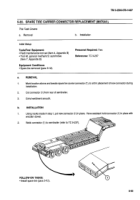
Place two one-foot-high wood blocks (1) under two landing pads (2). Lower front of semitrailer onto blocks (1).
3.
Behind semitrailer frame (3), cut tack welds from two retaining rings (4) on two lower link hinge pins (5).
Remove two retaining rings (4) from two hinge pins (5). Grind weld to surface of each hinge pin (5).
4.
Using crane, lift gooseneck (6) until two lockpins (7) are loose.
WARNING
Do not work under gooseneck unless lockpins are in place. Failure to heed this
warning could result in injury or death.
5.
Remove two lockpins (para 2-10).
6.
Lower front of semitrailer until gooseneck (6) is fully extended.
WARNING
Placement of jacks is extremely important in this procedure. Failure to place jacks
properly could result in injury or death.
7.
Place hydraulic jack under front and rear ends of upper deck side rail (8).
8.
Raise hydraulic jack at front of upper deck side rail (8) until gooseneck (6) starts to lift.
9.
Raise hydraulic jack at rear of upper deck side rail (8) until two hinge pins (5) can be turned with pipe wrench.
10.
Remove lubrication fitting (9) from one of two hinge pins (5).
NOTE
A slide hammer is required for removal of hinge pin. Use nut that will fit threads on
end of slide hammer rod.
11.
Put nut (10) in place over lubrication fitting hole (11) and have assistant hold nut (10) in place with wooden
dowel. Weld nut (10) to one hinge pin (5).
12.
Repeat steps 10 and 11 for other hinge pin (5).
5-44
Back to Top

