TM-9-2320-280-20-3 - Page 235 of 1168
TM 9-2320-280-20-3
10-190.2
Change 2
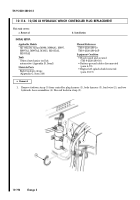
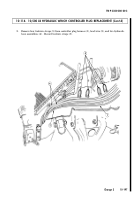
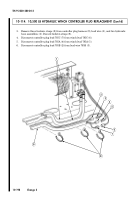
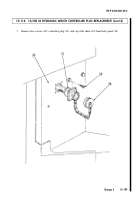
10-110.1. 10,500 LB HYDRAULIC WINCH CABLE REPLACEMENT
This task covers:
a. Removal
b. Installation
INITIAL SETUP
Applicable Models:
All vehicles except M996, M996A1, M997,
M997A1, M997A2, M1035, M1035A1,
M1035A2
Tools
General mechanics tool kit:
automotive (Appendix B, Item 1)
Materials/Parts
Cotter pin (Appendix G, Item 23)
Personnel Required
One mechanic
One assistant
Manual References
TM
9-2320-280-10
TM
9-2320-280-24P
General Safety Instructions
Wear leather gloves when handling
winch cable.
WARNING
Gloves must be worn when handling winch cable or severe
personnel injury may result.
1.
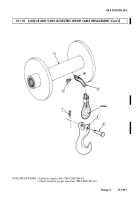
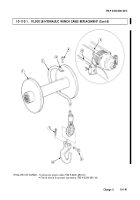
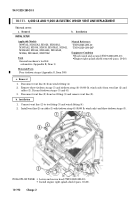
Unwind winch cable (2) from drum assembly (1) (TM 9-2320-280-10).
2.
Remove capscrew (4), terminal (3), and winch cable (2) from drum assembly (1).
3.
Remove cotter pin (7), clevis pin (5), and hook (6) from winch cable (2). Discard cotter pin (7).
CAUTION
If wires on winch cable are shearing or breaking around thimble,
repair can be performed. Refer to appendix D, fig. D-91 for
instructions.
1.
Install hook (6) on winch cable (2) with clevis pin (5) and cotter pin (7).
CAUTION
When installing cable on drum assembly, route cable in through
fairlead assembly, under drum, and install on top of drum.
Failure to do so may cause damage to cable and winch.
NOTE
It may be necessary to place the drumlock handles in FREE to
route the winch cable through the rear winch mounting bracket,
reinforcement plate, and roller assembly. Place drumlock handle
back to ENGAGED position to prevent cable from unwrapping
from drum.
2.
Route winch cable (2) through fairlead assembly (8), under drum assembly (1), and install
terminal (3) on drum assembly (1) with capscrew (4).
CAUTION
• The winch cable must be spooled on the drum according to the
direction of rotation label on the winch or brake will not function.
• Winch cable must be installed on drum under a load of at least
500 lb (227 kg) or outer wraps will draw into inner wraps and
damage winch cable.
3.
Install winch cable (2) on drum assembly (1) (TM 9-2320-280-10).
b. Installation
a. Removal
Back to Top

