TM-9-2330-227-14-P - Page 242 of 576
4-156
TM 9-2330-227-14&P
SPLASH WARDS - CONTINUED
ACTION
LOCATION
ITEM
REMARKS
NOT E
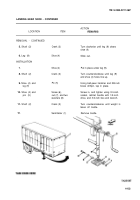
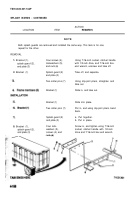
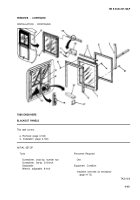
Both splash guards are removed and installed the same way. This task is for one;
repeat for the other.
REMOVAL
1.
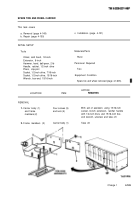
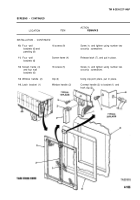
Bracket(1),
splash guard (2),
and plate (3)
2.
Bracket (1)
8.
Bracket (1),
splash guard (2),
and plate (3)
Four screws (4),
Iockwashers (5),
and nuts (6)
Splash guard (2)
and plate (3)
Two cotter pins (7)
Bracket (1)
Bracket (1)
Two cotter pins (7)
Splash guard (2)
and plate (3)
Four lock-
washers (5),
screws (4), and
nuts (6)
Using 7/16-inch socket, ratchet handle
with 1/2-inch drive, and 7/16-inch box-
end wrench, unscrew and take off.
Take off, and separate.
Using slip-joint pliers, straighten and
take out.
Slide in, and take out.
Slide into place.
Put in, and using slip-joint pliers, bend
back.
a. Put together.
b. Put in place.
Screw in, and tighten using 7/16-inch
socket, ratchet handle with 1/2-inch
drive and 7/16-inch box-end wrench.
Back to Top

