TM-9-2330-227-14-P - Page 250 of 576
TM 9-2330-227-14&P
SCREENS - CONTINUED
ACTION
LOCATION
ITEM
REMARKS
NOT E
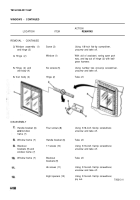
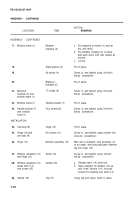
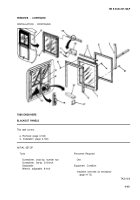
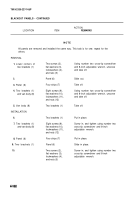
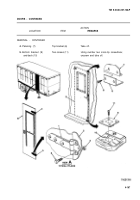
All screens are removed and installed the same way. This task is for one, repeat for
the others.
REMOVAL
1.
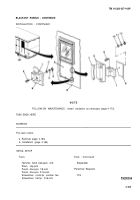
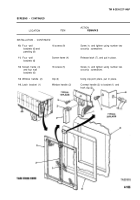
Latch bracket (1)
2.
Window handle (2)
3.
Latch bracket (1)
and screen frame (4)
4.
Four wall
brackets (6)
5.
Four wall
brackets (6) and
paneling (8)
6.
7.
Paneling (8)
INSTALLATIO N
8.
9.
Four wall
brackets (6) and
paneling (8)
Window handle (2)
Clip (3)
18 screws (5)
Screen frame (4)
16 screws (9)
26 rivets (10)
Four wall
brackets (6)
Four wall
brackets (6)
26 rivets (10)
Release handle (2) from bracket (1)
by pulling up on clip (3).
Using slip-joint pliers, spread and
take off.
Using number two cross-tip screwdriver,
unscrew and take off.
Release latch (7), and take off.
Using number two cross-tip screwdriver,
unscrew and take off.
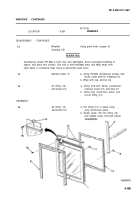
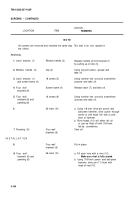
a. Using 1/8-inch drive-pin punch and
ball-peen hammer, drive punch through
center of rivet head (10) with a solid
blow of hammer.
b. Rivet heads (10) will either fall off
or can be lifted off with 3/16-inch
flat-tip screwdriver.
Take off.
Put in place.
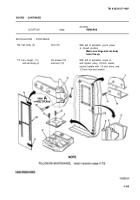
a. Fill each hole with a rivet (10).
Make sure rivet is fully seated.
b. Using 3/16-inch punch and ball-peen
hammer, drive pin (11) flush with
head of rivet (10).
4-164
Back to Top

