TM-9-2350-311-20-1 - Page 651 of 1275
TM 9-2350-311 -20-1
8-2 ALTERNATOR
This task covers:
a. Removal
b. Installation
General mechanic’s tool kit (item 64, Appx H)
Two
Pinch bar (item 39, Appx H)
Equipment Condition
Materials/Parts
Air intake grille opened (para 4-5)
Gasket (item 178, Appx G)
Batteries disconnected (para 8-28)
Lockwashers(19) (item 89, Appx G)
Engine exhaust grille removed (para 4-5)
Lockwashers (3) (item 96, Appx G)
Radiator fan access door removed (para 4-5)
Lockwashers (2) (item 98, Appx G)
a. Removal
1
2
3
4
5
6
7
8
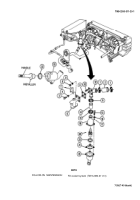
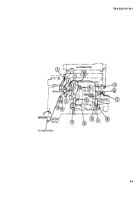
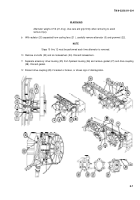
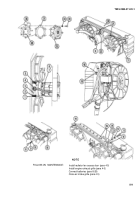
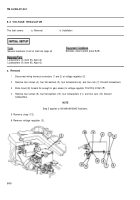
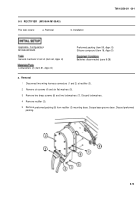
Remove seven screws (1), seven lockwashers (2), and cover (3). Discard lockwashers.
Disconnect alternator-to-rectifier wiring harness (4) at alternator (5).
Remove six mounting nuts (6) and six lockwashers (7). Discard lockwashers.
Remove two screws (8), two lockwashers (9), and two flat washers (10). Discard lockwashers.
Remove three screws (11), three lockwashers (12), three flat washers (13), and three clamps (14), releasing
radiator vent hoses (15). Discard lockwashers.
Loosen inlet hose clamp (16), but do not remove clamp from inlet hose (17).
Loosen clamp (18) at radiator-to-aeration detector hose (19), but do not remove clamp from radiator-to-
aeration detector hose.
CAUTIO N
Ž Care must be taken when pushing radiator away from cooling fans to protect
radiator fins from damage.
• Care must be taken that inlet hose and radiator-to-aeration detector hose do not
disconnect from radiator.
Carefully push the radiator (20) away from the cooling fans (21) using a pinch bar. Be careful not to damage
equipment or disconnect inlet hose (17) or radiator-to-aeration detector hose (19).
8-6
Back to Top

