TB-9-2320-302-13-P-2 - Page 131 of 396
TB 9-2320-302-13&P-2
RIGHT B-PILLAR ARMOR REPLACEMENT - CONTINUED
0023 00
0023 00-5
CLEANING AND INSPECTION
Clean and inspect all parts IAW
General Maintenance Instructions
(WP 0011 00).
INSTALLATION
WARNING
•
Use extreme caution when handling heavy parts. Provide adequate support and use assistance during
procedure. Ensure that any lifting device used is in good condition and of suitable load capacity. Keep
clear of heavy parts supported only by lifting device. Failure to follow this warning may cause injury or
death to personnel.
•
For proper threat protection, armor must be installed correctly into the armor frame. During installation,
ensure that the surface marked “STRIKE FACE” is facing outward towards the threat. Exposing the
passive side of the ballistic panel outward makes the armor less effective. Failure to follow this warning
may cause injury or death to personnel.
1.
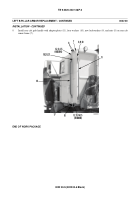
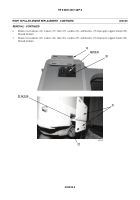
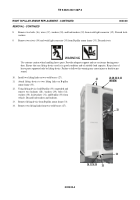
Install two lifting links on two weld bosses (27).
2.
Attach lifting device to two lifting links on B-pillar armor frame (33).
3.
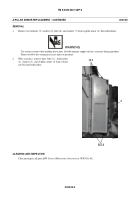
Using lifting device, install B-pillar (33), two new lockwashers (31), washers (30), bolts (32), washers (29), and new
locknuts (28) on vehicle.
4.
Remove lifting device from B-pillar armor frame (33).
5.
Remove two lifting links from two weld bosses (27).
6.
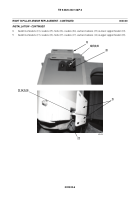
Install work light connector (35) and two new rivets (34) on B-pillar armor frame (33).
7.
Install two new lockwashers (39), washers (38), wires (37), and bolts (36) on work light connector (35).
Back to Top


