TM-9-2320-280-20-3 - Page 333 of 1168
11-62. ARMAMENT COVER AND SEAL REPLACEMENT
This task covers:
a. Removal
b. Installation
a. Removal
1.
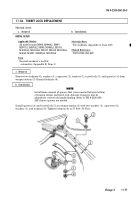
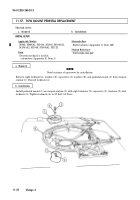
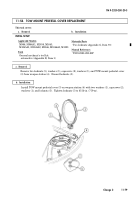
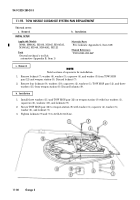
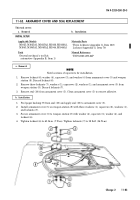
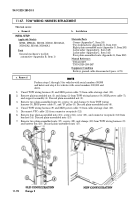
Remove locknut (6), washer (4), capscrew (3), and washer (4) from armament cover (5) and weapon
station (8). Discard locknut (6).
2.
Remove three locknuts (7), washers (1), capscrews (2), washers (1), and armament cover (5) from
weapon station (8). Discard locknuts (7).
3.
Remove seal (10) from armament cover (5). Clean armament cover (5) to remove adhesive.
NOTE
Note locations of capscrews for installation.
INITIAL SETUP:
Applicable Models
M1025, M1025A1, M1025A2, M1026, M1026A1,
M1043, M1043A1, M1043A2, M1044, M1044A1
Tools
General mechanic’s tool kit:
automotive (Appendix B, Item 1)
Materials/Parts
Three locknuts (Appendix G, Item 128)
Locknut (Appendix G, Item 70)
Manual References
TM 9-2320-280-24P
b. Installation
1.
Peel paper backing (9) from seal (10) and apply seal (10) to armament cover (5).
2.
Install armament cover (5) on weapon station (8) with three washers (1), capscrews (2), washers (1),
and locknuts (7).
3.
Secure armament cover (5) to weapon station (8) with washer (4), capscrew (3), washer (4), and
locknut (6).
4.
Tighten locknut (6) to 65 lb-in. (7 N
•
m). Tighten locknuts (7) to 12 lb-ft (16 N
•
m).
TM 9-2320-280-20-3
Change 2
11-83
Back to Top

