TM-9-2330-247-14-P - Page 112 of 320
TM 9-2330-247-14&P
4-32.
BRAKESHOE ASSEMBLY (Con’t)
ACTION
LOCATION
ITEM
REMARKS
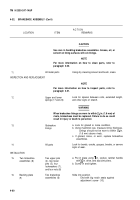
WARNING
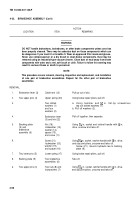
DO NOT handle brakeshoes, brakedrums, or other brake components unless area has
been properly cleaned. There may be asbestos dust on these components which can
be dangerous if you touch It or breathe It. Wear an approved filter mask and gloves.
Never use compressed air or a dry brush to clean brake components. Dust may be
removed using an Industrial-type vacuum cleaner. Clean dust or mud away from brake
components with water and a wet, soft brush or cloth. Failure to follow this warning may
result In serious illness or death to personnel.
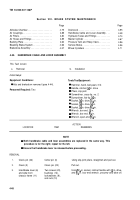
NOTE
This procedure covers removal, cleaning, Inspection and replacement, and installation
of one pair of brakeshoe assemblies. Repeat for the other pair of brakeshoe
assemblies.
REMOVAL
1.
2.
3.
4.
5.
6.
7.
8.
9.
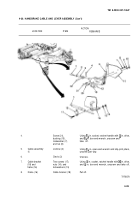
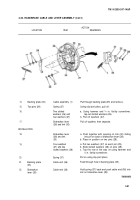
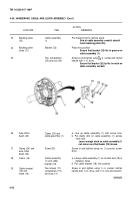
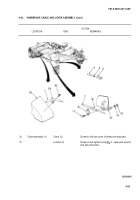
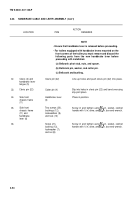
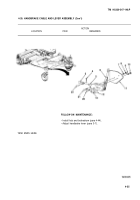
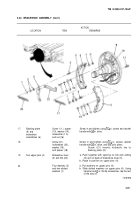
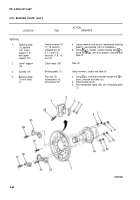
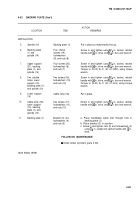
Brakeshoe lever (3)
Two upper pins (4)
Backing plate
(9) and
brakeshoe
assembly (6)
Two lower pins (5)
Backing plate (9)
Two upper pins (4)
Cable end (12)
Upper spring (23)
Two slotted
washers (1)
and four
washers (2)
Brakeshoe lever
(3) and link (22)
Nut (16),
Iockwasher (15),
washer (14),
spacer (13),
and screw (11)
Screw (21),
Iockwasher (20),
washer (19),
and spacer (18)
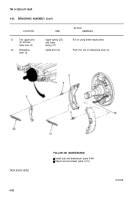
Lower spring (17)
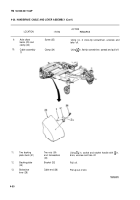
Two brakeshoe
assemblies (6)
Two nuts (8) and
Iockwashers (7)
Pull up out of slot.
Using brake repair pliers, pull off.
a. Using hammer and ~ in. flat-tip screwdriver,
tap out slotted washers (1).
b. Pull off washers (2).
Pull off together, then separate.
Using X6 in. socket and ratchet handle with
~ in.
drive, unscrew and take off.
Using ZG in. socket, ratchet handle with
~ in. drive,
and slip-joint pliers, unscrew and take off.
Screw (21 ) mounts hydraulic tee to backing
plate (9).
Using brake repair pliers, pull off.
Take off.
Using 1X6 in. socket, ratchet handle with ~ in. drive,
and slip-joint pliers, unscrew and take off.
4-58
Back to Top

