TM-9-2330-342-23-P - Page 932 of 1348
REMOVAL - Continued
3.
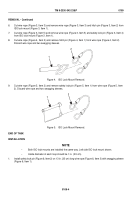
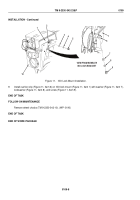
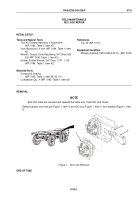
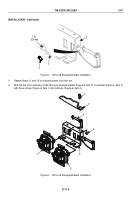
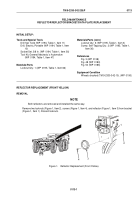
With the aid of an assistant, remove three locknuts (Figure 1, Item 3), screws (Figure 1, Item 1), and ISO lock
stowage bracket (Figure 1, Item 5) from bracket (Figure 1, Item 2). Discard locknuts.
NOTE
•
Perform Steps (4) and (5) if gravity lock hitch pin needs to be removed.
•
Both gravity lock hitch pins are removed the same way. Outboard gravity lock hitch
pin shown. Both gravity lock hitch pins will need to be removed if replacing ISO lock
stowage bracket.
4.
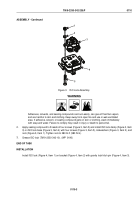
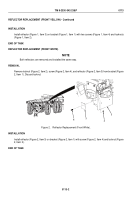
Cut wire rope (Figure 2, Item 3) and remove wire rope (Figure 2, Item 3) and gravity lock hitch pin (Figure 2,
Item 2) from ISO lock stowage bracket (Figure 2, Item 1).
2
3
1
Figure 2.
ISO Lock Stowage Bracket Removal.
5.
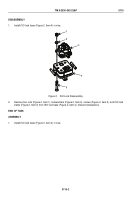
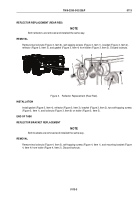
Cut wire rope (Figure 3, Item 2) and remove gravity lock hitch pin (Figure 3, Item 1) from wire rope (Figure 3,
Item 2). Discard wire rope and two swagging sleeves.
1
2
Figure 3.
ISO Lock Stowage Bracket Removal.
6.
Repeat Steps (4) and (5) for inboard gravity lock hitch pin.
END OF TASK
TM 9-2330-342-23&P
0111
0111-2
Back to Top

