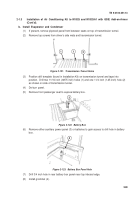
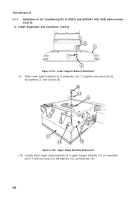
TB-9-2510-251-13 - Page 101 of 624
2-85
TB 9-2510-251-13
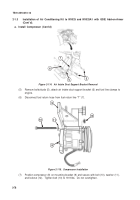
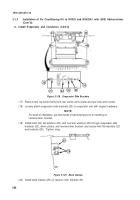
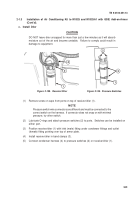
(16)
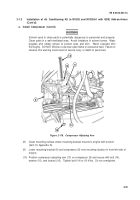
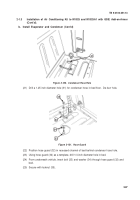
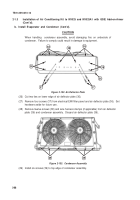
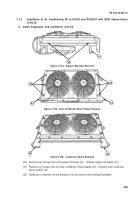
Insert four new bolts (18), flat washers (19), and oversize washers (20) through lower
evaporator support bracket and armor plates.
Install flat washers (21) and locknuts (22)
and tighten snug.
17
17
17
17
16
22
21
19
20
18
15
2-1.3
Installation of Air Conditioning Kit to M1025 and M1025A1 with GSIE Add-on-Armor
(Cont’d).
b. Install Evaporator and Condenser (Cont’d)
Figure 2-126.
Install Evaporator Unit
Figure 2-127.
Lower Support Bracket
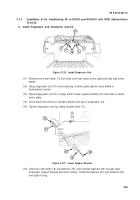
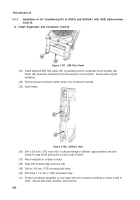
(11)
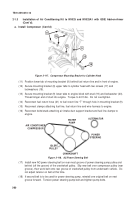
Remove two lower center 1/2 inch bolts from rear center armor plate and rear side armor
plates.
(12)
Hang evaporator unit (15) from inside top of armor plate (above holes drilled in
transmission tunnel).
(13)
Adjust evaporator unit (15) to align slots in lower support bracket (16) with slots in center
armor plate.
(14)
Close hatch and check for handle interface with top of evaporator unit.
(15) Tighten evaporator unit top clamp bracket bolts (17).
Back to Top

