TM-5-2330-378-14-P - Page 207 of 524
TM 5-2330-378-14&P
4-54. RELAY EMERGENCYVALVE REPLACEMENT,OPERATINGTEST,AND LEAKAGE
TEST (continued).
b.
INSTALLATION
NOTE
Before installing fittings into valve or tank, wrap fitting threads with two turns of
antiseizing
tape.
1
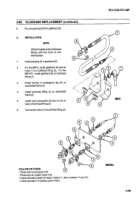
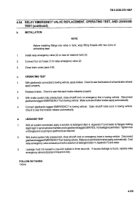
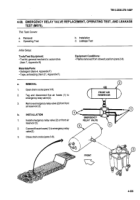
Install relay emergency valve (2) on rear air reservoir tank (3).
2.
Connect
four air
hoses (1) to relay emergency valve (2).
3.
Close drain cocks (pare 3-8).
C.
OPERATING
TEST
1 .
With gladhands
connected to towing vehicle, apply brakes. Check to see that brakes of all semitrailer
wheels
apply properly.
2.
Release brakes. Check to see that each brake releases properly.
3.
With brake system fully pressurized, close shutoff cock on emergency line in towing vehicle. Disconnect
gladhands tagged EMERGENCY from towing vehicle. Make sure semitrailer brakes apply automatically.
4.
Connect gladhands tagged EMERGENCY to towing vehicle. Open shutoff valve cock in towing vehicle.
Check to see that brakes release automatically.
d.
LEAKAGE TEST
1.
With air system connected, apply a solution of detergent (item 4, Appendix F) and water to flanges holding
diaphragm in service brake chamberand to gladhands tagged SERVICE. No leakage ispermitted. Tightennuts
on flanges and coupling on gladhands as required.
2.
With brake system fully pressurized, close shutoff cock on emergency hose in towing vehicle. Disconnect
gladhandstagged EMERGENCY from towing vehicle. Make sure semitrailer brakes apply automatically. Coat
relay emergency valve exhaust port with a solution of detergent (item 4, Appendix F) and water.
3.
Leakage must not exceed a one-inch bubble in three seconds. If excess leakage is found, replace relay
emergencyvalve (subparas4-64a and4-54b).
FOLLOW-ON TASKS:
- None
4-119
Back to Top

