TM-5-5420-228-24 - Page 368 of 750
TM 5-5420-228-24
OVERHEAD CYLINDER HOSE ASSEMBLIES (DA5 AND DA6) AND HYDRAULICS REPLACEMENT
(Sheet 2 of 3)
6.
7.
8.
9.
NOTE
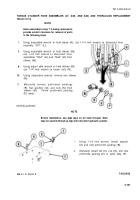
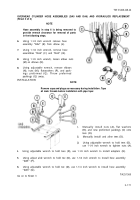
Hose assembly in step 6 is being removed to
provide wrench clearance for removal of parts
in the following steps.
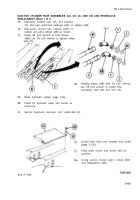
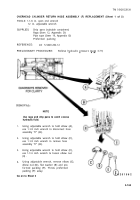
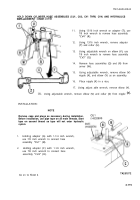
Using 1-1/4 inch wrench remove hose
assembly “DA2” (K) from elbow (L).
Using 1-1/4 inch wrench, remove hose
assemblies “DA6” (C) and “DA5” (B).
Using 1-1/4 inch wrench, loosen elbow nuts
(M) on elbows (N).
Using adjustable wrench, remove elbows
(N), nuts (M), flatwashers (P), and pack-
ings preformed (Q). Throw preformed
packings (Q) away.
INSTALLATION:
NOTE
Remove caps and plugs as necessary during installation. Tape
all male threads before installation with pipe tape:
1.
2.
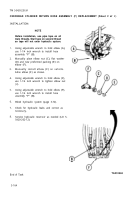
Manually install nuts (A), flat washers
(B), and new preformed packings (C) onto
tees (D).
Manually install and aline tees (D).
3.
Using adjustable wrench to hold tees (D),
use 1-1/4 inch wrench to tighten nuts (A).
4.
Using adjustable wrench to hold tees (D), use 1-1/4 inch wrench to install adapters (E).
5.
Using adjust able wrench to hold tee (D), use 1-1/4 inch wrench to install hose assembly
“DA5” (F).
6.
Using adjustable wrench to hold tee (D), use 1-1/4 inch wrench to install hose assembly
“DA6” (G).
Go on to Sheet 3
TA251569
3-171
Back to Top

