TM-9-2320-361-20 - Page 173 of 1207
TM 9-2320-361-20
Table 2-4. Electrical Troubleshooting (Contd).
MALFUNCTION
TEST OR INSPECTION
CORRECTIVE ACTION
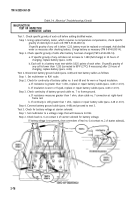
Test 7. Test positive cable 6 voltage drop from batteries to starter motor solenoid.
Step 1. Set multimeter to a voltage range that will measure tenths of a volt.
Step 2. Connect multimeter positive lead to positive terminal post on batteries and negative lead
to lug 2 on starter motor solenoid.
Step 3. Crank engine (TM 9-2320-361-10) and observe multimeter. A voltage reading exceeding 0.4
volts indicates a loose or corroded connection.
Clean and tighten cable connections at batteries, starter, and chassis (para. 4-48).
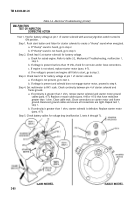
Test 8. Test battery voltage while cranking engine.
Step 1. Set multimeter to a voltage range that will measure 24 Vdc.
Step 2. Connect multimeter directly across battery terminal posts, positive lead to positive post,
and negative lead to negative post.
Step 3. With emergency engine stop handle pulled (TM 9-2320-361-10), crank engine for 30 seconds
(TM 9-2320-361-10). Voltage reading should be 19 Vdc or more during cranking.
a. If battery voltage is not satisfactory, go to malfunction 1 and check battery.
b. If battery voltage is satisfactory, replace starter motor and solenoid assembly (para. 4-7).
Step 4. Disengage emergency stop handle (TM 9-2320-361-10).
If engine still cranks slowly, notify your supervisor.
2-88
Back to Top

