TM-9-2330-342-23-P - Page 591 of 1348
REMOVAL - Continued
1
2
3
4
7
8
6
5
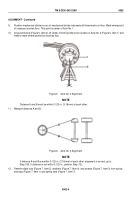
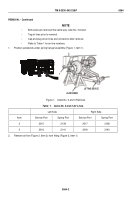
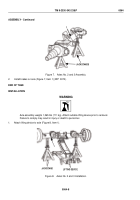
Figure 2.
Axles No. 2 and 3 Removal.
3.
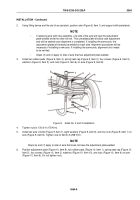
Remove air line (Figure 2, Item 7) from fitting (Figure 2, Item 8).
4.
Remove air line (Figure 2, Item 3) from fitting (Figure 2, Item 4).
5.
Remove air line (Figure 2, Item 6) from fitting (Figure 2, Item 5).
6.
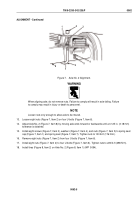
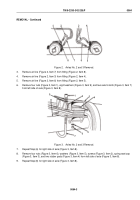
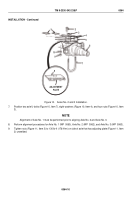
Remove four nuts (Figure 3, Item 1), eight washers (Figure 3, Item 9), and two axle U-bolts (Figure 3, Item 7)
from left side of axle (Figure 3, Item 8).
8
9
1
2
3
4
5
6
7
Figure 3.
Axles No. 2 and 3 Removal.
7.
Repeat Step (6) for right side of axle (Figure 3, Item 8).
8.
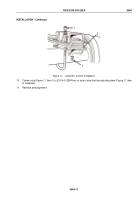
Remove four nuts (Figure 3, Item 6), washers (Figure 3, Item 5), screws (Figure 3, Item 2), spring seat cap
(Figure 3, Item 3), and two rubber pads (Figure 3, Item 4) from left side of axle (Figure 3, Item 8).
9.
Repeat Step (8) for right side of axle (Figure 3, Item 8).
TM 9-2330-342-23&P
0064
0064-3
Back to Top

