TM-9-2330-342-23-P - Page 889 of 1348
REMOVAL - Continued
WARNING
Wear proper eye protection and use care when removing and installing springs. Springs are
under tension and can act as projectiles when released. Failure to comply may result in injury
or death to personnel.
5.
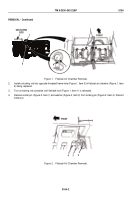
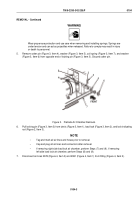
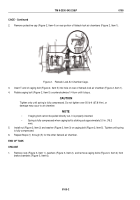
Remove cotter pin (Figure 3, Item 4), washer (Figure 3, Item 5), coil spring (Figure 3, Item 7), and washer
(Figure 3, Item 6) from opposite end of locking pin (Figure 3, Item 3). Discard cotter pin.
5
1
2
6
7
FRONT
4
3
Figure 3.
Flatrack Air Chamber Removal.
6.
Pull locking pin (Figure 3, Item 3) from clevis (Figure 3, Item 1), load lock (Figure 3, Item 2), and lock indicating
rod (Figure 2, Item 3).
NOTE
•
Tag and mark all air lines and hoses prior to removal.
•
Cap and plug all air lines and connectors after removal.
•
If removing right side load lock air chamber, perform Steps (7) and (9). If removing
left side load lock air chamber, perform Steps (8) and (9).
7.
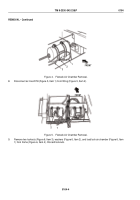
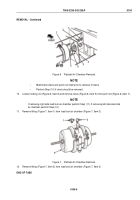
Disconnect air lines 2078 (Figure 4, Item 3) and 2081 (Figure 4, Item 1) from fitting (Figure 4, Item 2).
TM 9-2330-342-23&P
0104
0104-3
Back to Top

