TM-9-2520-270-34 - Page 235 of 933
TM 9-2520-270-34
CAUTION
Insertion tool must be straight and not allowed
to wobble when installing insert. Equipment
can be damaged.
Do not force insert into tapped hole. Threads
will be damaged.
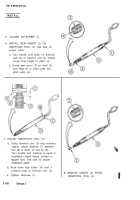
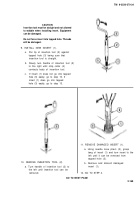
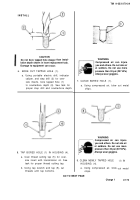
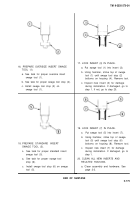
9. INSTALL NEW INSERT (1).
a.
b.
c.
Put tip of insertion tool (2) against
tapped hole (3) being sure that
insertion tool is straight.
Slowly turn handle of insertion tool (2)
to the right until stop collar (4)
contacts body of insertion tool.
If insert (1) does not go into tapped
hole (3) easily, go to step 10. If
insert (1) does go into tapped
hole (3) easily, go to step 13.
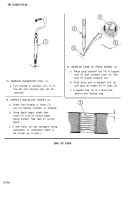
10. REMOVE INSERTION TOOL (2).
a. Turn handle of insertion tool (2) to
the left until insertion tool can be
removed.
11. REMOVE DAMAGED INSERT (1).
a. Using needle nose pliers (5), grasp
tang of insert (1) and turn insert to the
left until it can be removed from
tapped hole (3).
b. Remove and discard damaged
insert (1).
12. GO TO STEP 4.
GO TO NEXT PAGE
2-169
Back to Top


