TM-5-3805-254-14-P-2 - Page 398 of 894
TRUCK SERVICE MANUAL
ENGINE
12.
If reading is less than 0.007 inch [0.18 mm]:
a.
Loosen bearing cap capscrews slightly.
b.
Shift crankshaft first toward front and then toward rear
of engine.
c.
Retighten capscrews by template method, Step 9.
d.
Recheck clearance.
13.
If reading is more than 0.022 inch [0.56 mm],
crankshaft must be reworked or oversize thrust rings
used.
Cylinder Liners
1.
Before installing cylinder liners, check protrusion.
If
’necessary, install shims around liner to maintain 0.003 to
0.006 inch [0.08 to 0.15 mm] protrusion.
2.
Just prior to installation lubricate packing rings with a
light coat of clean lubricating oil, roll into position and
install crevice seal.
Using mold mark on ring as guide,
straighten as required.
Caution: To prevent swelling of "0(’ rings, lubricate
lightly with clean engine lubricating oil, just prior to
installation.
Make sure proper part numbers are
used.
3.
Lubricate machined portions of block on which rings
seat with a light coat of clean engine lubricating oil.
4.
Place liner in block by hand, being careful to avoid
dislodging "O" rings and crevice seal.
Press liner into
position.
Use ST-1229 Liner Driver to drive liner securely
into the block so it fits squarely into block bore.
5.
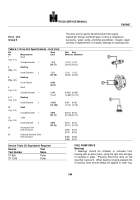
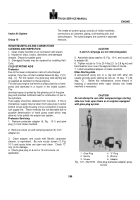
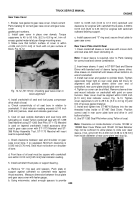
Install ST-1184 Cylinder Liner Hold-Down Tool so foot
of tool rests upon cylinder liner "fire ring." Secure tool,
space capscrews so even load will be applied.
Tighten
capscrews to 50 ft-lbs [6.9 kg m] torque.
8.
Use’ ST-547 Gauge Block to determine if protrusion
meets specifications.
7.
Check liner bore with precision dial bore gauge, for
roundness at several points within range of piston travel.
If liner is more than 0.002 inch [0.05 mm] out-of-round in
packing ring area, remove liner and check for cause of
distortion.
It is permissible to have 0.003 inch [0.08 mm]
out-of-round at the top 1 inch [25.4 mm] of liner bore.
Connecting Rods And Pistons
1.
Install rings on piston with word "TOP" toward top,
using ST-763.Piston Ring Expander.
2.
Over-expanding a piston ring during installation on the
piston can cause distortion resulting in damage leading
to failure.
The ring should only be expanded enough to
allow it to pass over the piston.
3.
A simple formula can be applied to insure that a ring
is
not over-expanded.
The measured gap should not be
expanded more than eight (8) times the nominal radial
wall thickness of the ring.
Stagger ring gaps so they are
not in line with each other or piston pin.
Lubricate piston
and rings with clean engine lubricating oil.
4.
Slide connecting rod cap from bolts.
Make certain
bolt heads are seated squarely on rod shoulder.
Keep
rod cap with mating connecting rod.
5.
Turn engine to vertical position on engine stand and
rotate crankshaft so any two crank throws are at bottom-
center position.
6.
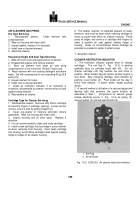
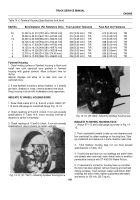
Compress rings with ST-1176, insert piston and rod
assembly into cylinder.
Position numbered side of rod
toward camshaft side of block.
Push piston and rod
assembly through ring compressor until rings are in liner.
Use care to prevent scratching of liners.
7.
Pull piston and rod assembly down by rod bolts, leave
assembly short of seating to allow insertion of bearing
shell.
8.
Coat crank side of rod bearing shells with clean
lubricating oil, roll rod bearing shell into rod.
Shell locking
tang must fit in milled recess.
Seat rod on crank journal.
9.
Seat lower shell in rod cap and install rod cap over
bolts so numbered side of cap is matched with numbered
side of rod.
Note:
Lubricate hardened washers with SAE 140W gear
lubricant before installation.
10.
Lubricate bolt and nut threads on 855 C.lI.D.
Engines
with clean lubricating oil.
Install new hardened
flatwashers and nuts to bolts.
Tighten nuts by Template
Method, see Table 14-2.
Table 14-2: Tightening Connecting Rod Nuts
Tightening Sequence Tightening Values
With Hardened Washer
Ft-Lb [kg ml
Step 1 Tighten to
70 to 75 [9.7 to 10.3]
Step 2 Tighten to
140 to 150 [19.4 to 20.7)
Step 3 Loosen all
Completely
Step 4 Tighten to
25 to 30 [3.5 to 4.1]’
Step 5 Advance to
70 to 75 [9.7 to 10.3]
Step 6 Advance to
140 to 150 [19.4 to 20.7]
Camshaft And Gear
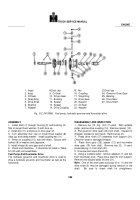
1.
Coat- both sides of thrust ring with high pressure
lubricant and install over end of camshaft with oil grooves
toward camshaft gear.
2.
Lubricate cam lobes with high pressure lubricant.
Install camshaft, rotating slowly, being careful not to
damage lobes and bushings.
3.
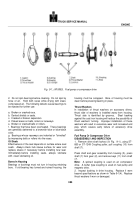
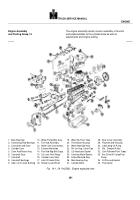
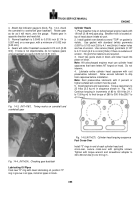
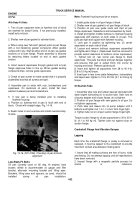
Index timing mark on camshaft gear with mark on
crankshaft gear.
Fig.
14-3.
394
Back to Top

