TM-9-2330-227-14-P - Page 342 of 576
5-68
TM 9-2330-227-14&P
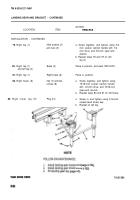
U-BOLTS, RADIUS ROD AND BRACKET, AND SPRING - CONTINUED
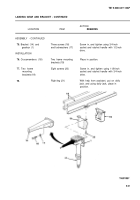
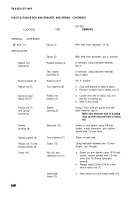
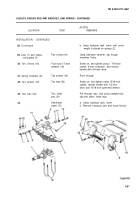
INSTALLATION - CONTINUED
NOT E
FOLLOW-ON MAINTENANCE: Install brake backing plate (pages 4-92 or 4-95).
TASK ENDS HERE
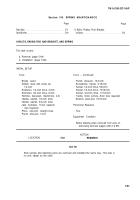
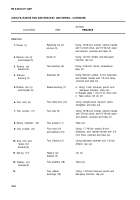
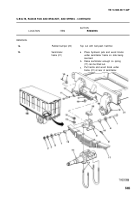
SPRING BRACKETS
This task covers:
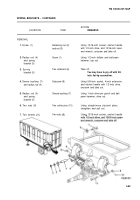
a. Removal (page 5-69)
b. Installation (page 5-70)
INITIAL SETUP
Tools
Tools - Continued
Blocks, wood
Driftpin, steel with brass tip,
1/2-inch
Extension, 1/2-inch drive, 4-inch
Face, inserted hammer
Hammer, machinist’s, bail-peen, 1-lb
Handle, ratchet, 3/8-inch drive
Handle, ratchet, 1/2-inch drive
Holder, inserted hammer-face
Jack, hydraulic, 10-ton capacity
Pliers, slip-joint, straight-nose
Punch, drivepin, 1/2-inch
Punch, drive-pin, 1-inch
Screwdriver, fiat-tip, 3/8-inch
Socket, 1/2-inch drive, 5/8-inch
Socket, 1/2-inch drive, 3/4-inch
Socket, 1/2-inch drive, 15/16-inch
Star socket, 3/8-inch drive, 3/8-inch
Trestle, motor vehicle, 8-ton
Wrench, open-end, 3/4-inch
Wrench, open-end, 15/16-inch
Materials/Parts
Grease, GAA (item 10, appendix E)
Personnel Required
Two
Equipment Condition
Brake backing plate removed from axle on
side being serviced (pages 4-92 or 4-95).
Both springs and attaching parts are removed and installed the same way. This task is
for one; repeat for the other.
REMARKS
NOT E
Back to Top

