TM-9-2330-227-14-P - Page 346 of 576
5-72
TM 9-2330-227-14&P
SPRING BRACKETS - CONTINUED
ACTION
LOCATION
ITEM
REMARKS
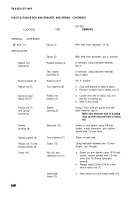
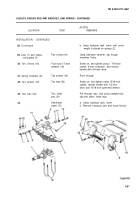
INSTALLATION - CONTINUED
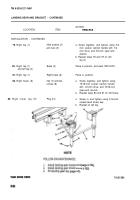
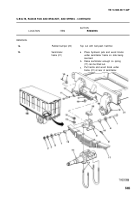
Radius
rod (5) and
spring bracket (3)
Sleeve bushing (6)
and radius rod (5)
Spring bracket (3)
Radius rod (5) and
spring bracket (3)
Screw (9)
Spring brackets
(3) and (4)
Two screws (12)
Two
nuts (13)
Semitrailer
frame (1)
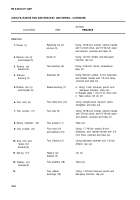
Sleeve bushing (6)
Setscrew (7)
Retainers (8)
Screw (9)
Nut (10) and
retaining nut (11)
Two screws (12)
Two nuts (13)
Two cotter
pins (14)
Semitrailer
frame (1)
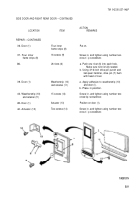
Lower semitrailer so spring (2) is
engaged with spring brackets (3) and (4).
Using 1-inch drive-pin punch and ball-
peen hammer, tap in.
Make sure setscrew hole in bushing
lines up with setscrew hole in
radius rod.
Screw in, and tighten using 5/8-inch
socket, 4-inch extension, and ratchet
handle with 1/2-inch drive.
Place on each side.
Using plastic-face hammer, tap through.
Screw on, and tighten using 15/16-inch
socket, ratchet handle with 1/2-inch
drive, and 15/16-inch open-end wrench.
Using plastic-face hammer, tap through.
Screw on, and tighten using 15/16-inch
socket, ratchet handle with 1/2-inch
drive, and 15/16-inch wrench.
Put through, and using slip-joint pliers,
bend legs.
a.
b.
Using hydraulic jack, lower.
Remove hydraulic jack, wood blocks,
and trestle.
Back to Top

