TM-9-2330-342-23-P - Page 665 of 1348
INSTALLATION - Continued
WARNING
Brake shoe springs are under great tension, wear eye protection and use caution when
removing springs during this procedure. Failure to comply may result in injury or death to
personnel.
8.
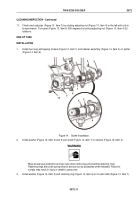
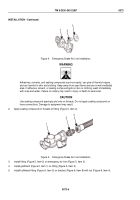
Install two return springs (Figure 16, Item 2) on upper brake shoe (Figure 16, Item 1) and lower brake shoe
(Figure 16, Item 4).
9.
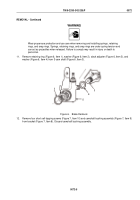
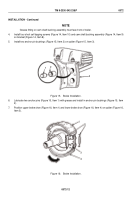
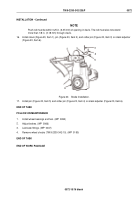
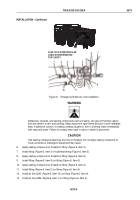
Using brake spring pliers install spring (Figure 17, Item 1) on upper brake shoe (Figure 17, Item 7) and lower
brake shoe (Figure 17, Item 2).
BRAKE REPAIR PLIERS
1
2
3
4
5
6
7
Figure 17.
Brake Installation.
10.
Install spring clips (Figure 17, Item 3) and (Figure 17, Item 6) on cam rollers (Figure 17, Item 4) and (Figure
17, Item 5).
CAUTION
Do not get grease on parts of cam rollers that contact S-cam. Lubricating this part may cause
damage to equipment.
11.
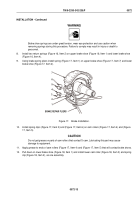
Apply grease to ends of cam rollers (Figure 17, Item 4) and (Figure 17, Item 5) that will contact brake shoes.
12.
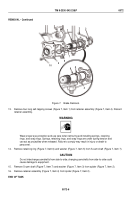
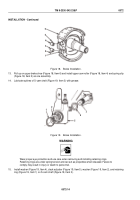
Pull down on lower brake shoe (Figure 18, Item 1) and install lower cam roller (Figure 18, Item 3) and spring
clip (Figure 18, Item 2), as one assembly.
TM 9-2330-342-23&P
0072
0072-13
Back to Top

