TM-9-2350-260-20-1-3 - Page 427 of 783
TM 9-2350-260-20-1-3
CAPACITOR AND HOUSING ASSEMBLY REPLACEMENT.
RIGHT FUEL TANK (Sheet 6 of 9)
INSTALLATION:
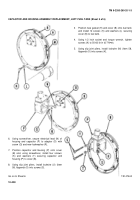
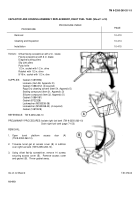
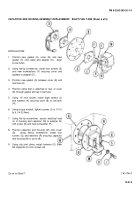
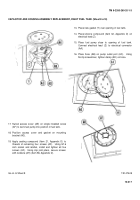
1.
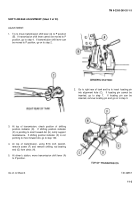
Position new gasket (A), cover (B), and new
gasket (C) onto cable and adapter (D).
Align
screw holes.
2.
Using flat-tip screwdriver, install four screws (E)
and new lockwashers (F) securing cover and
gaskets to adapter (D).
3.
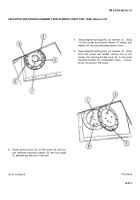
Position new gasket (G) between cover (B) and
fuel tank (H).
4.
Position cable that is attached to rear of cover
(B) through gasket and lay in fuel tank.
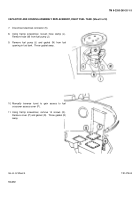
5.
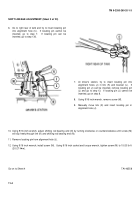
Using 1/2 inch socket, install eight screws (J)
and washers (K) securing cover (B) to fuel tank
(H).
6.
Using torque wrench, tighten screws (J) to 10-15
lb-ft (14-20 N
•
m).
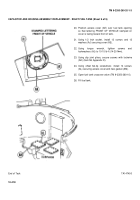
7.
Using flat-tip screwdriver, secure electrical lead
(L) of housing and capacitor (M) to adapter (D)
with screw (N) and new lockwasher (P).
8.
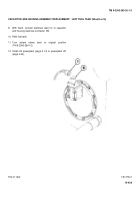
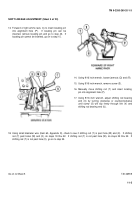
Position capacitor and housing (M) onto cover
(B).
Using flat-tip screwdriver, install four
screws (Q) and washers (R) securing capacitor
and housing (M) to cover (B).
9.
Using slip joint pliers, install lockwire (S) (Item
58, Appendix D) onto screws (Q).
Go on to Sheet 7
TA147447
10-415
Back to Top

