TM-9-2350-261-20-3 - Page 37 of 932
TM 9-2350-261-20-3
REPLACE TRIM VANE RELEASE — Continued
0424 00
ADJUSTMENT
WARNING
Trim vane can fall and injure personnel. Make sure trim vane zone is clear when you lower
or stow trim vane.
NOTE
Several adjustments of clevis rod ends on extension linkage and trim vane release may be
necessary to obtain overcenter lock in retracted position.
1.
Stow trim vane (see your -10).
2.
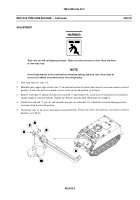
Manually move upper edge of trim vane (3) forward and rearward to check trim vane for excess movement in stowed
position. If trim vane moves too much or is not secure in stowed position, go to Step 3.
3.
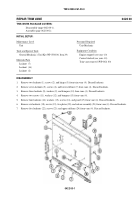
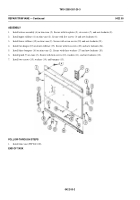
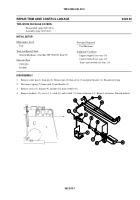
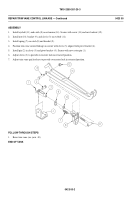
Remove cotter pin (6) and pin (8) from clevis rod end (7) and bracket (10). Loosen nut (9) and turn clevis rod end to
change length of extension linkage. Tighten nut. Retain cotter pin until adjustments are complete.
4.
Install clevis rod end (7), pin (8), and retained cotter pin (6) on bracket (10). Check that extension linkage provides
overcenter lock in retracted position.
5.
Check trim vane (3) for excess movement in stowed position. If trim vane moves too much or is not secure in stowed
position, go to Step 6.
042400-3
Back to Top

