TM-9-2815-200-35
ENGINE, WITH CONTAINER:TURBOSUPERCHARGED, DIESEL ,FUEL INJECTION ,90-DEGREE “V” TYPE, AIR - COOLED ,12 - CYLINDER , ASSEMBLY ;MODELS AVDS-1790-2M (2815-856-4996), AVDS-1790-2A AND AVDS-1790-2AM (2815-856-9005)
TECHNICAL MANUAL; DIRECT SUPPORT, GENERAL SUPPORT AND DEPOT MAINTENANCE MANUAL INCLUDING REPAIR PARTS AND SPECIAL TOOLS LISTS
TM-9-2815-200-35 - Page 262 of 779
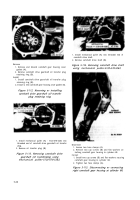
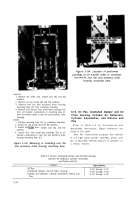
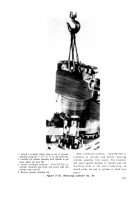
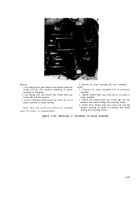
Remove
1. Rotate engine overhaul stand (A) until engine is in
position shown.
2. Position wooden blocks (B) as shown to support oil
pan while it is being removed.
Note.
Remove the two remaining self-locking
nuts and flat washers that were left to prevent
the oil pan from falling (fig. 5-136).
3. Remove oil pan (C). Remove and discard oil pan
sealing thread (fig. 4-125).
Install
1. Rotate engine overhaul stand (A) until engine is in
position shown.
2. Position wooden blocks (B) as shown to support oil
pan while it is being installed.
3. Install new oil pan sealing thread (fig. 4-125) on oil
pan and position oil pan (C) on crankcase assembly.
Install one self-locking nut and washer on each side of
oil pan to prevent pan from falling when engine is
rotated to upright position.
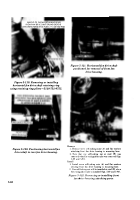
Figure 5-137. Removing or installing oil pan.
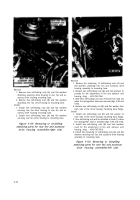
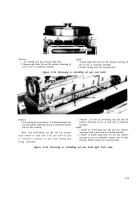
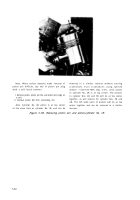
Remove
1. Remove two self-locking nuts (A) attaching manifold
heater fuel solenoid valve and fuel filter mounting
bracket. Remove bracket.
2. Remove 12 self-locking nuts (B) and flat washers
attaching crankcase damper and oil filter housing.
Install
1. Install 12 self-locking nuts (B) and flat washers
securing crankcase damper and oil filter housing.
2. Position manifold heater fuel solenoid valve and fuel
filter mounting bracket on housing. Install two self-
locking nuts (A) securing bracket.
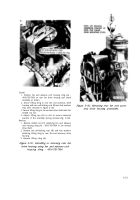
Figure 5-138. Removing or installing crank-
shaft damper and oil filter housing
attach parts.
5-76
Back to Top

