TM-9-2330-342-23-P - Page 466 of 1348
REMOVAL - Continued
2
REMOVAL TOOL
1
3
4
5
6
7
8
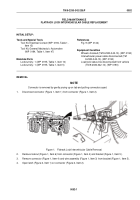
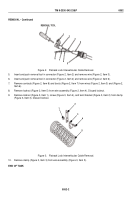
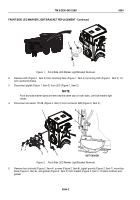
Figure 2.
Flatrack Lock Intervehicular Cable Removal.
5.
Insert and push removal tool in connector (Figure 2, Item 2) and remove wire (Figure 2, Item 3).
6.
Insert and push removal tool in connector (Figure 2, Item 2) and remove wire (Figure 2, Item 6).
7.
Remove contacts (Figure 2, Item 8) and boots (Figure 2, Item 7) from wires (Figure 2, Item 3) and (Figure 2,
Item 6).
8.
Remove locknut (Figure 2, Item 5) from wire assembly (Figure 2, Item 4). Discard locknut.
9.
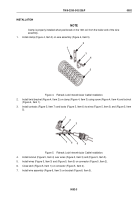
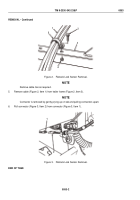
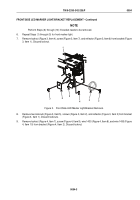
Remove locknut (Figure 3, Item 1), screw (Figure 3, Item 4), and twist bracket (Figure 3, Item 2) from clamp
(Figure 3, Item 3). Discard locknut.
4
5
3
2
1
Figure 3.
Flatrack Lock Intervehicular Cable Removal.
10.
Remove clamp (Figure 3, Item 3) from wire assembly (Figure 3, Item 5).
END OF TASK
TM 9-2330-342-23&P
0052
0052-2
Back to Top


